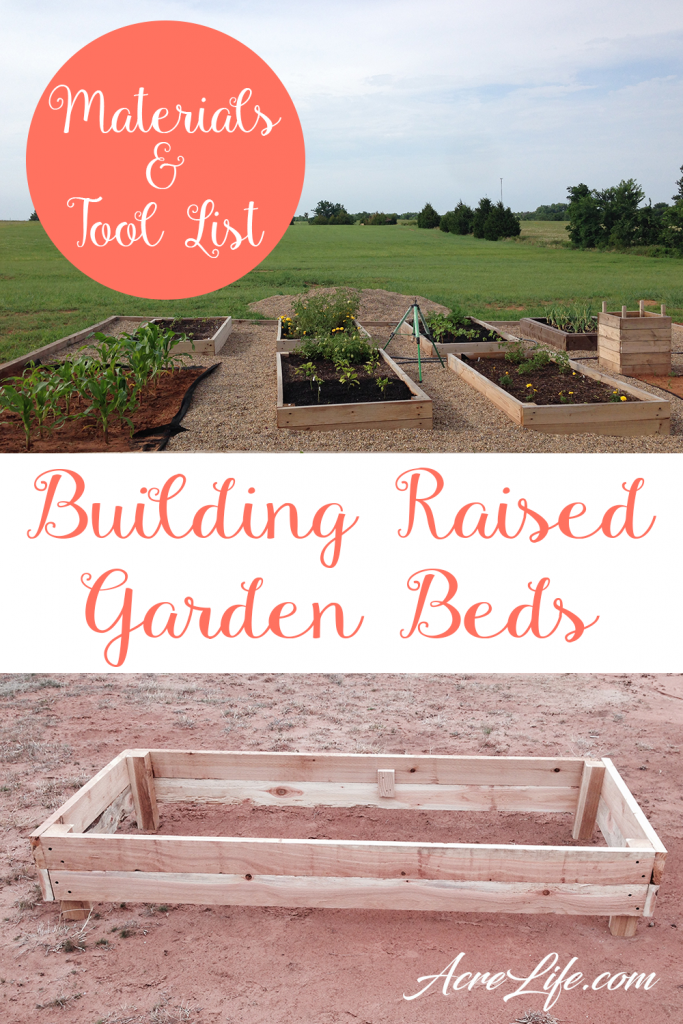


Building Raised Beds – Let’s Do This!
We needed raised beds but we didn’t know how to build things. So we asked a friend to build one for us. We looked at his work and said, “we can do that!” We also knew that we couldn’t afford to pay someone else to build all of the beds that we needed. Therefore, we did what any non-skilled people do, we googled how to build a raised bed. That may even be how you found this post. My goal is to guide you through this process so that you can be on your way to homegrown produce in a few months.
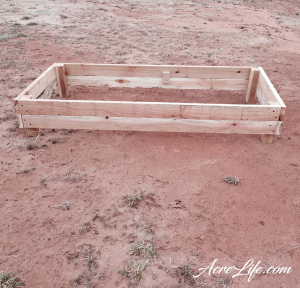
Our raised beds are 4’x8’x1′ – We have a large gopher and mole population so we put welded wire fencing on the bottom of our beds. This will keep them from eating our crops from below. The corner posts are 2′ tall to allow the bed frame to be set down into the ground and kept in place.
Materials & Tools
Materials
- 6 – 2-in x 6-in x 8-ft cedar boards
- 1 – 4-in x 4-in x 8-ft cedar deck posts
- 24 – 4″ Galvanized wood screws (we used FastenMaster 4-in Hex-Drive Structural Wood Screws)
- 4’x8′ piece of welded wire rolled fencing (optional)
- Staples (optional)
- Landscape fabric (optional)
Tools
- Circular Saw
- Drill
- Drill bit (ours came with the screws)
- Pencil
- Tape Measure/Ruler
- Square
- Wire Cutters
- Staple Gun
- Shovel
- Level
Step-by-Step Guide
- Check the measurement of 4 of your 4’x8′ boards – These will be used for the long sides. Make sure that they are 8′ long and trim off any excess if needed.
- Next, measure & cut the remaining 2 boards – These will be your short sides.
– Measure to 4′ and cut (measure twice, cut once)
– Make sure that the other piece is 4′ (they need to be exact) - Finally, measure 2′ of your cedar posts and cut. You will need 4 of these.
- Find a level surface like a patio or garage to build your frame.
- Ask for help. Although this is an easy project it would have been difficult for 1 person to build.
- You are building your frame upside down so keep that in mind when choosing which part of the board is facing up or out (or does it really matter? It is going outside right? It mattered to me and I wanted the bed to look nice.)
- First form a corner with a long board, short board, and post.
- Make sure that your post is flush with your long board and that they are flush with each other on the bottom. Insert 2 screws near the bottom and top of the board.
- Now make sure that your short board is flush with the long board and insert 2 screws.
- Continue steps 8 & 9 for the remaining 3 corners. Make sure that it is square as you go so that the leveling that you will do later goes smoothly.
- Add the remaining 4 boards (2 long and 2 short) flush on top of the frame you just made. You are ready to install your raised bed unless you want to secure the bottom.
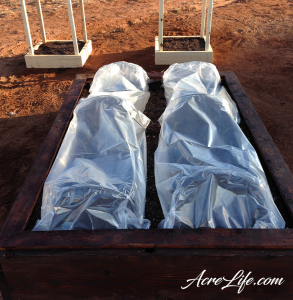
If you have gophers or moles
- Measure and cut your wire fencing to 8′ long. (optional) We use this to deter moles and gophers from digging up from the bottom.
- Cut out the corners of the wire fencing to fit around the posts. (optional)
- Staple it to the bottom of the frame. (optional)

Installing your bed frame
You have probably already chosen the perfect garden spot. A sunny spot, near a source of water and not too far from your house. Now that you have the perfect garden location it is time to put your bed frame in the ground.
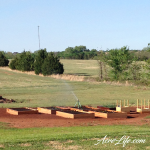
- Before you begin make sure that the ground is level (our land slopes so we leveled each bed but not the entire area, giving us a stair-step effect.)
- Loosen the ground that will be inside of the bed. (although you will add soil to your bed, some roots may reach lower and you also want to provide good drainage.)
- Next, dig out holes for your posts to fit into. You will want to leave enough room to make adjustments, but not so much that it becomes unstable.
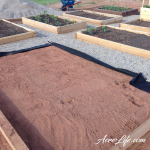
- Now place your frame into the holes from step 3 and start leveling (we spent A LOT of time on this step because it is very important. You don’t want all of your water and soil running to one side)
- Backfill around your frame to make sure that it remains level and stable.
- Cut a piece of landscape fabric to fit inside. (optional) We have put landscape fabric in all of our beds, however, it obviously doesn’t help with all of the weeds that find their way in through the top.
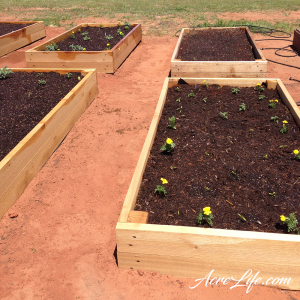
- If you have several beds to fill I would recommend getting a truckload of rich mix or potting soil from a local soil yard to keep cost down.
- Add an irrigation system if you have one and you are ready to plant! We just use an elevated sprinkler or a hand sprayer when needed.

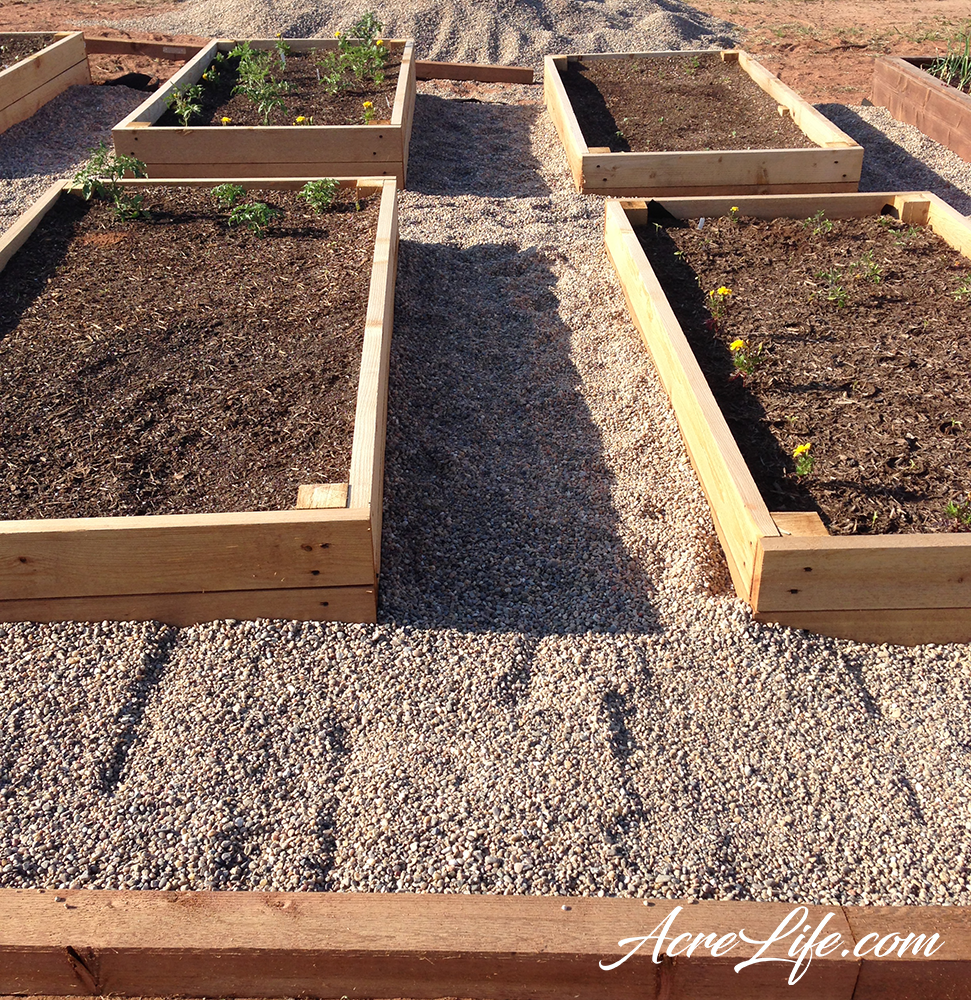
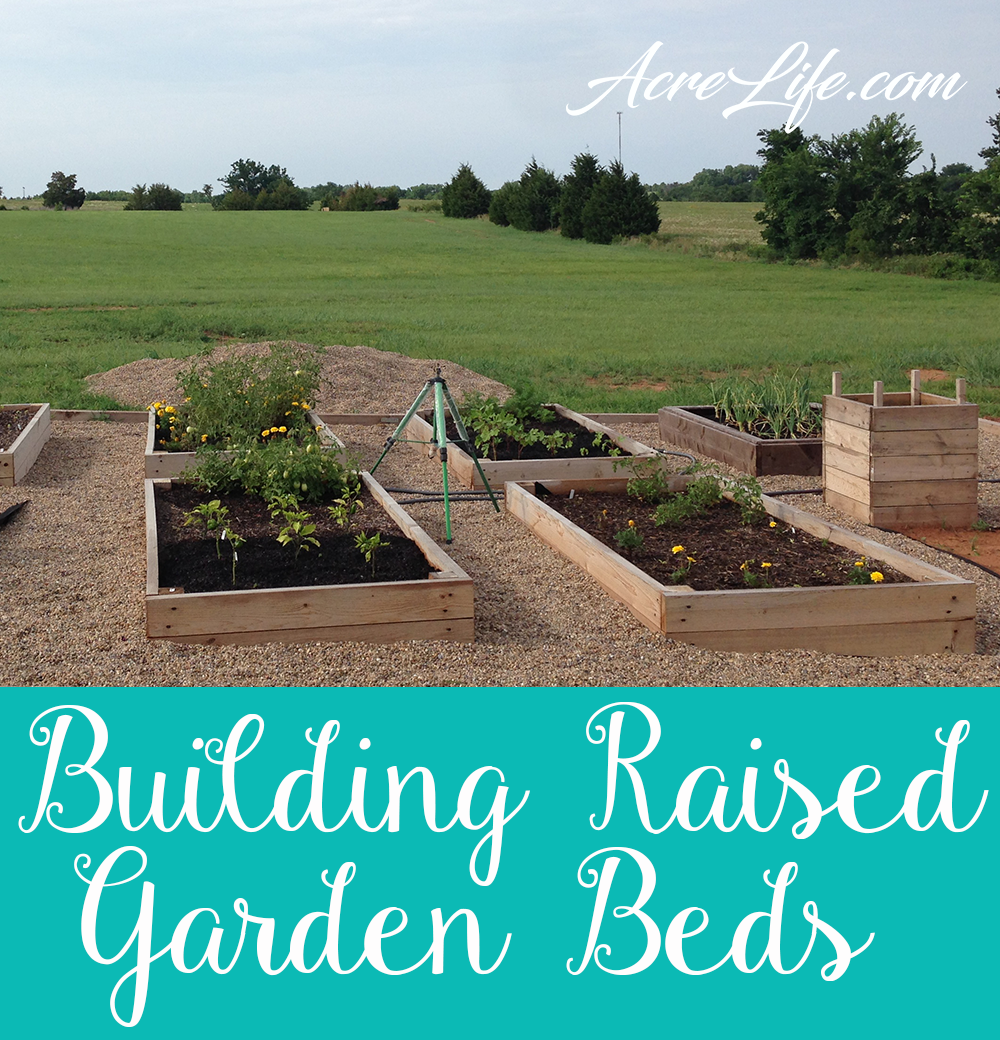
Look How We’ve Grown
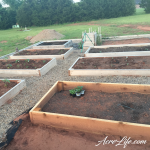
Our garden has evolved over the years. We added a border around the entire area and filled the walk-ways with gravel. Because of the gravel we can water and walk around the raised beds without making a muddy mess.
Year 1 – We started with 5 of the beds that we built, the original bed that our friend built, 2 potato bins and 1 open area for corn. This configuration gave us a variety of options to test in our first year to see what worked and what didn’t.

Year 2 – The next year we removed the potato bins and the corn and added 2 more raised beds in their spaces. The potato bins were costly because we had to keep adding soil. The corn section was ok but we decided that we wanted to plant it in a separate garden.
Year 3 – This year we removed the friend built bed and put in into the coop area as a dust bath area for the chickens. It was different than the other beds and messed up the beauty of the garden. For most of the Spring we worked on an in-ground garden with our neighbors. As a result, we didn’t plant much in the raised beds this year and just enjoyed the abundance of dill that came back from the previous year.
Year 4 – Our goal this year is to add 1 more bed to complete the garden area.
I look forward to a new improvement every year and as a result my to-do list is always growing. On my list is adding a short fence to deter the deer and coyotes from helping themselves. I also plan to add a hoop system to protect the new plantings because our current system doesn’t hold up to the Oklahoma wind.