
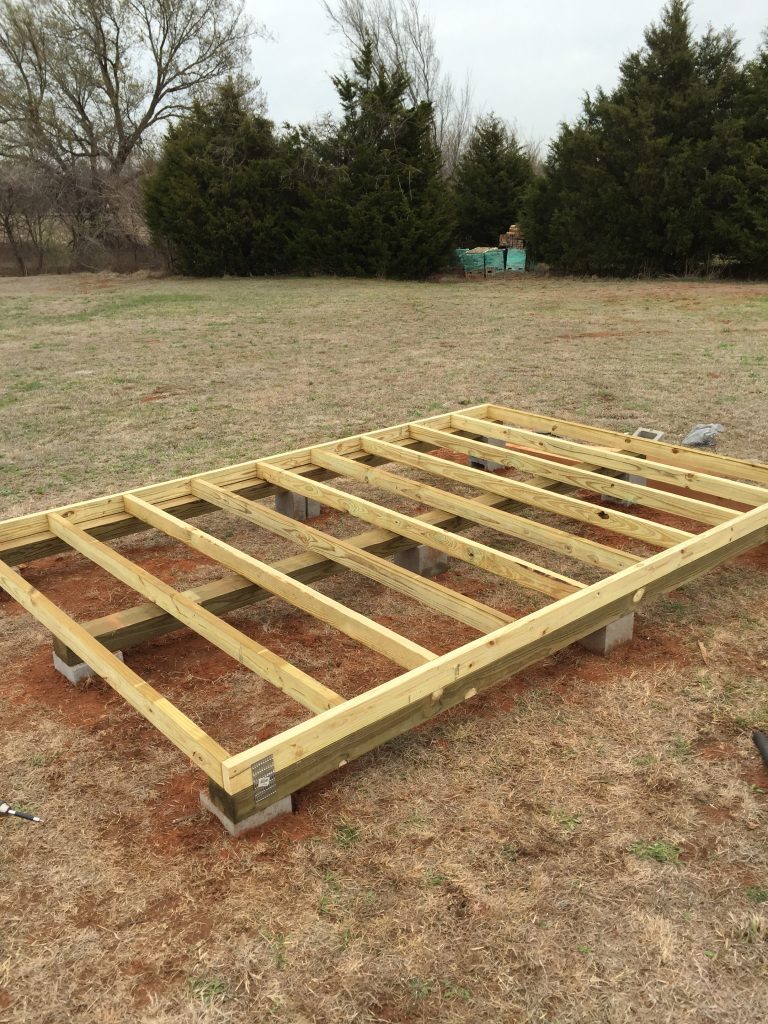
Is it time for a chicken coop remodel? If you have built your own chicken coop or if you made one out of an existing structure you have probably wished that you could remodel it. I love the pre-made chicken coops but we couldn’t find an affordable one that was big enough. The first BIG building project we tackled when we moved to our acreage was our chicken coop.
Below you can see what our original chicken coop looked like. It has held up well and kept our flock safe, warm, and dry for years. We suffered a loss of the entire flock a few years ago and the coop sat empty for a while. Before we started our new flock this year we decided to make some improvements and so far they have all been great additions.
The main criteria that we set for each improvement was:
- Will this make our chores more efficient?
- Will this benefit the chickens?
- Is this cost-effective for the purpose it serves?
The last one doesn’t always pass the test in the beginning but as time goes on, each of the improvements that we have made during our chicken coop remodel has proven to be a wise decision.
Original Chicken Coop
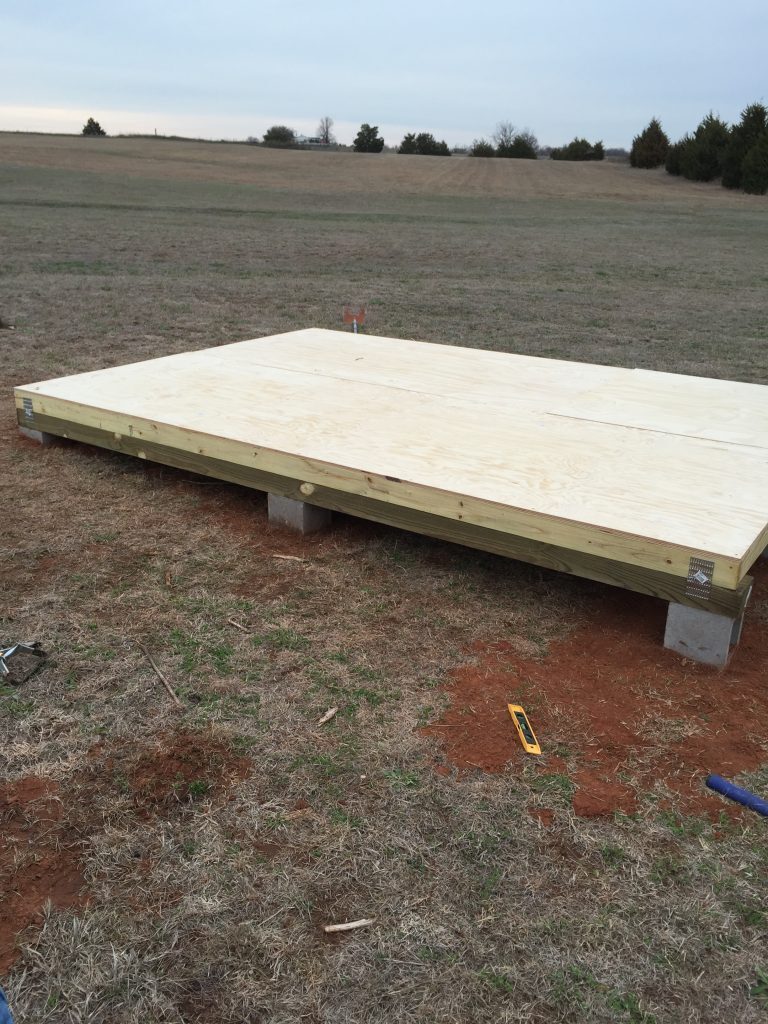
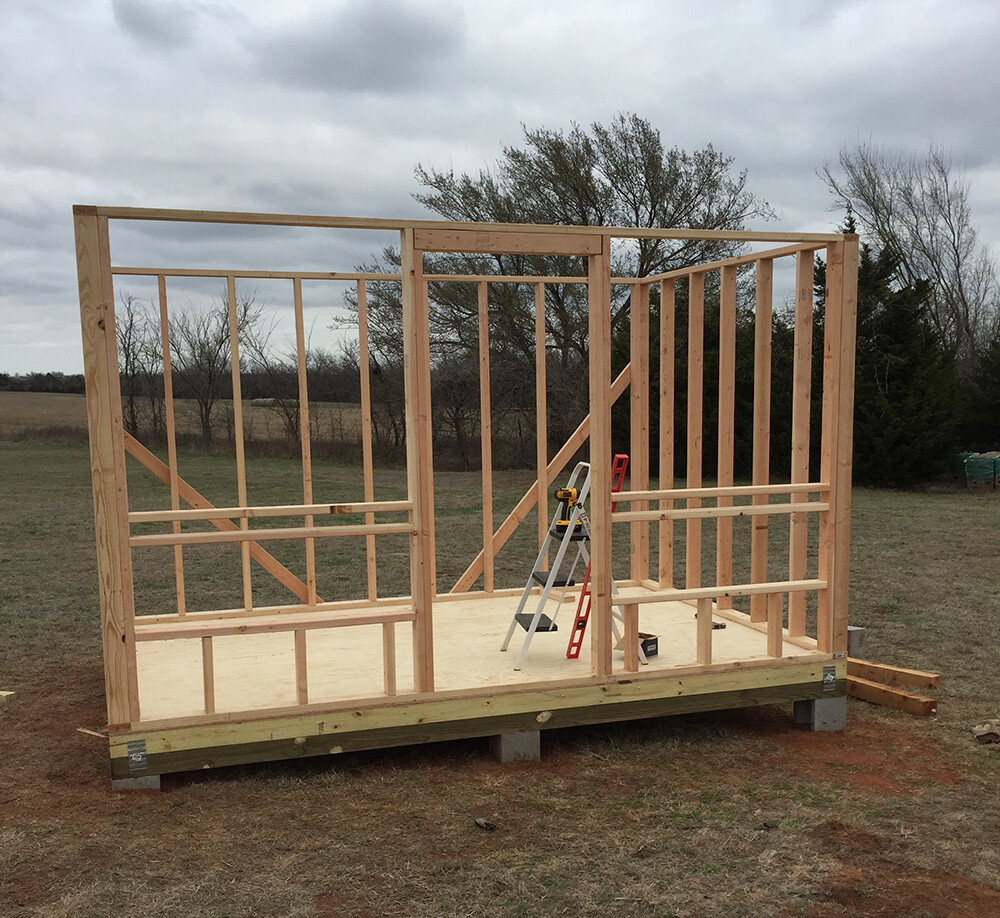
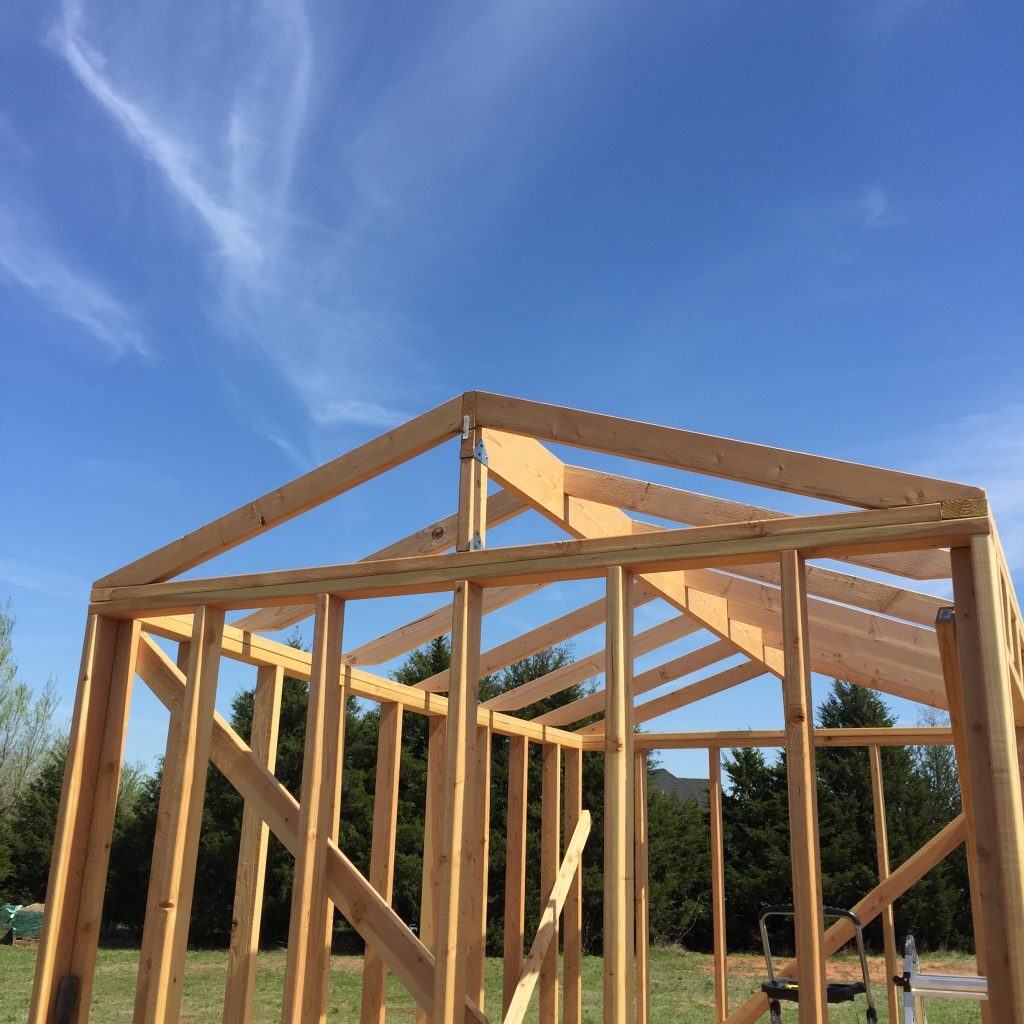
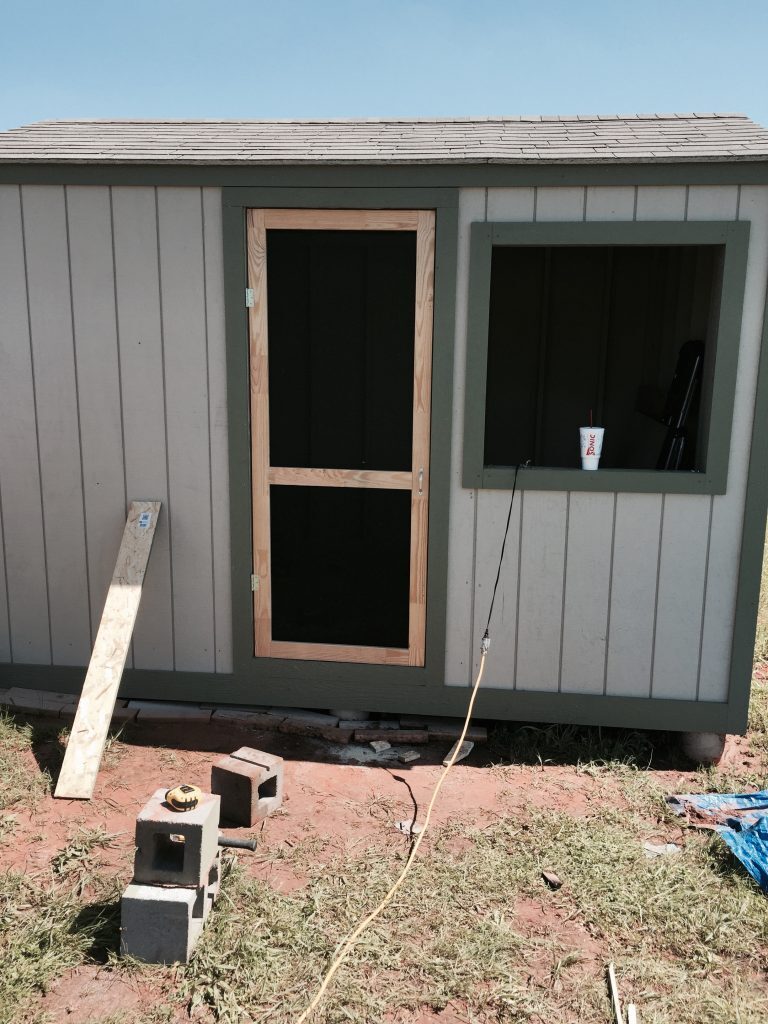
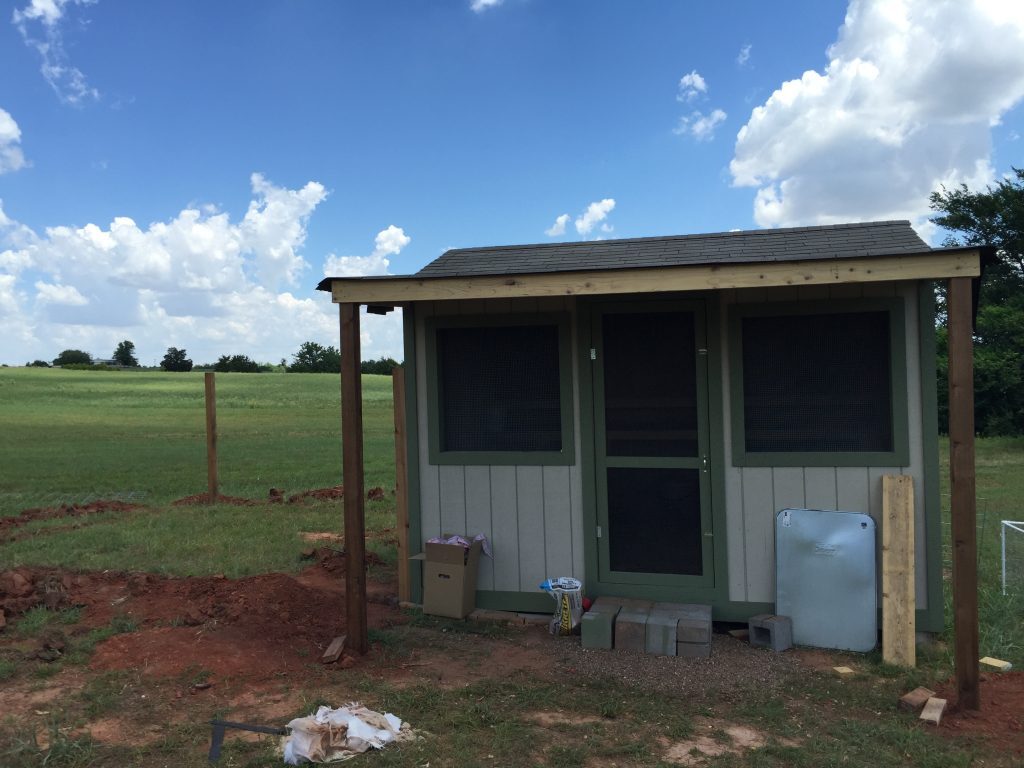
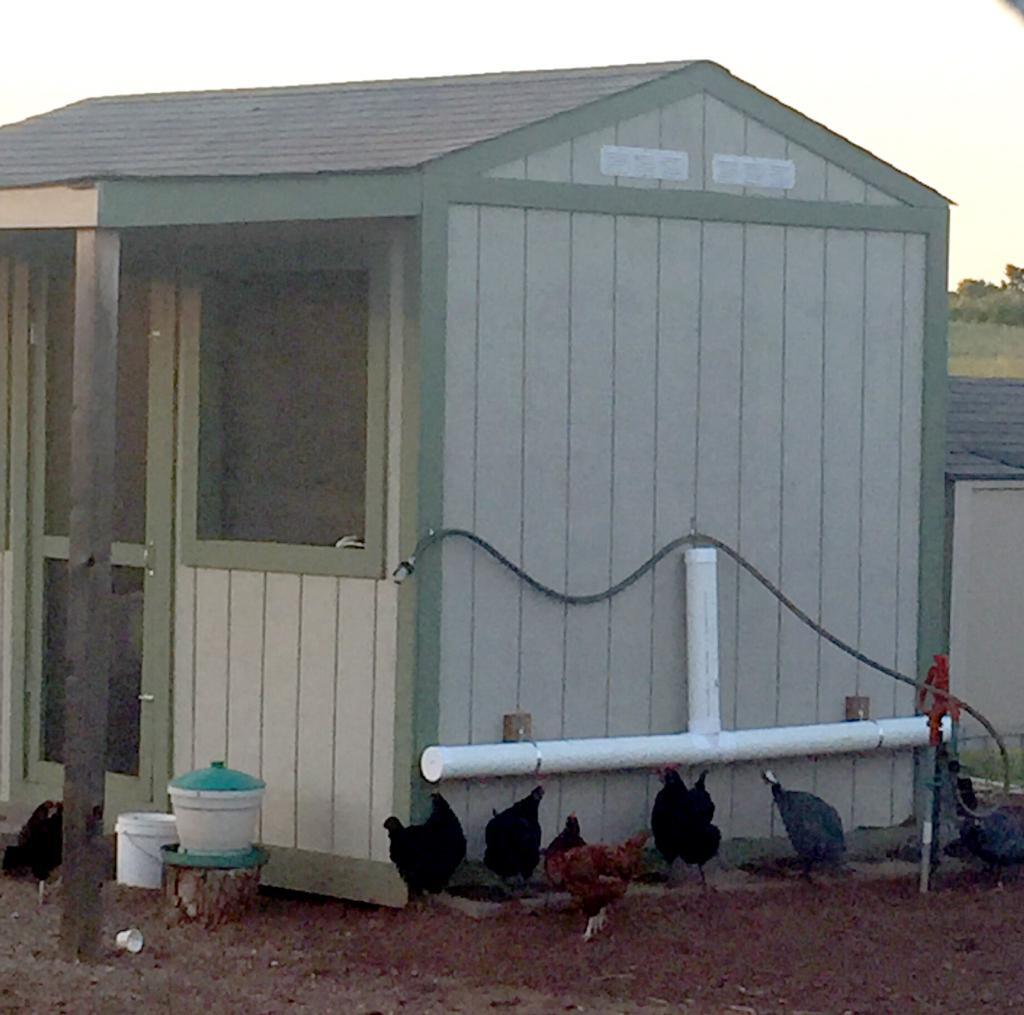
Our chicken coop started out as an 8’ x 12′ structure with a floor, 8′ walls, and a pitched roof. The coop had a full-sized screen door to enter so that we could collect eggs and clean. Two screened windows on each side of the door provided ventilation. The chickens entered through a small opening with a hinged door. We opened it in the morning and closed it at night until a storm broke it off. At that point, it was just an opening that mice used to come and go during the night. The roost was about 4′ off of the ground and ran the entire length of the back wall. A poop deck sat under the roost so that clean-up was easy.
I have to say that it was pretty nice and we were very proud of our building skills. At the point of maximum capacity, there were 24 chickens and 6 guinea and they had plenty of room to move around. The floor stayed relatively clean (it is still a chicken coop) because all of the nightly droppings fell into the poop deck which was cleaned every few days. The floor was covered in linoleum and then we placed pine shavings about 4″-6″ deep.


Original Chicken Coop Amenities
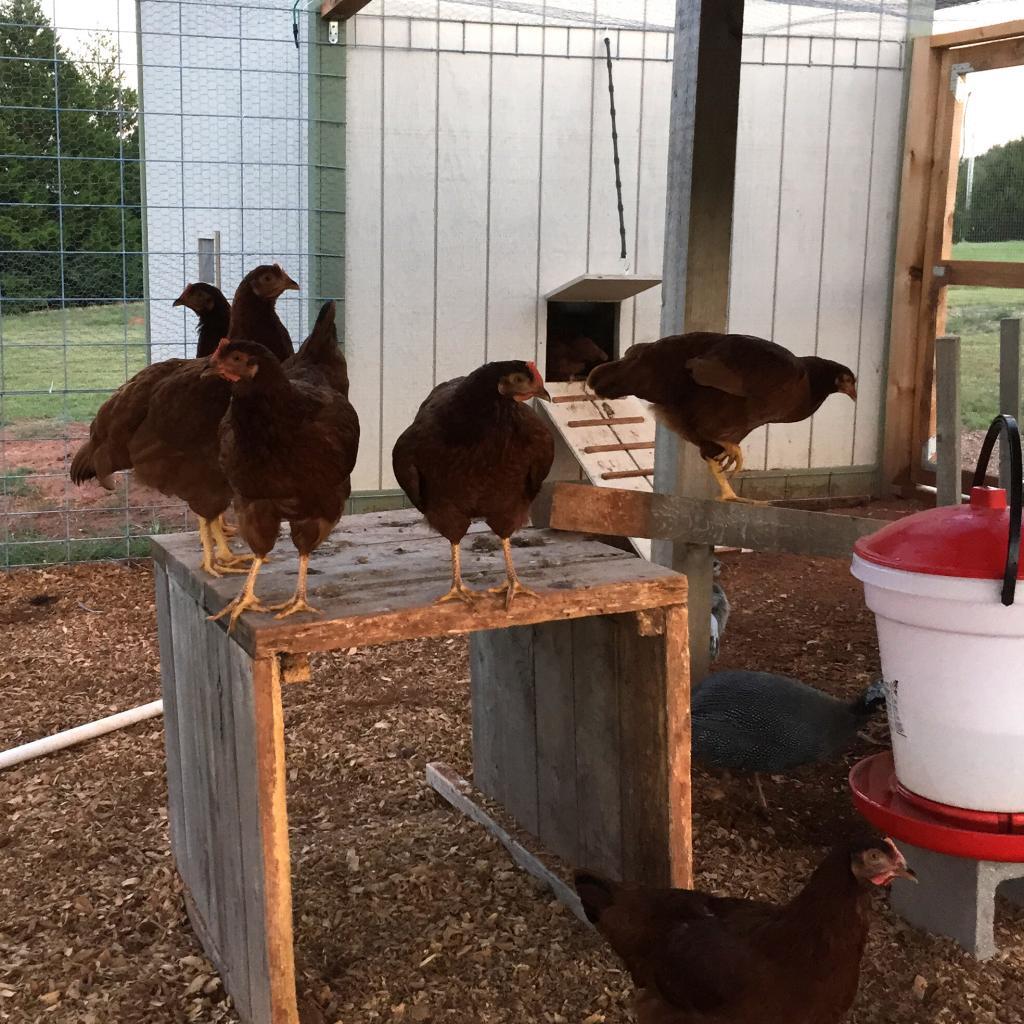
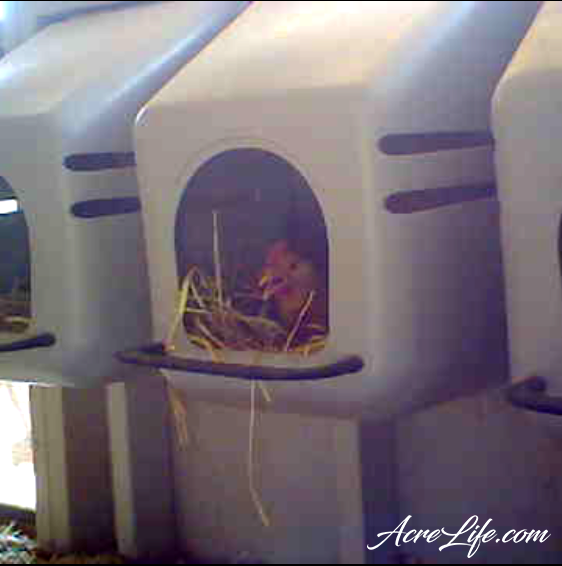
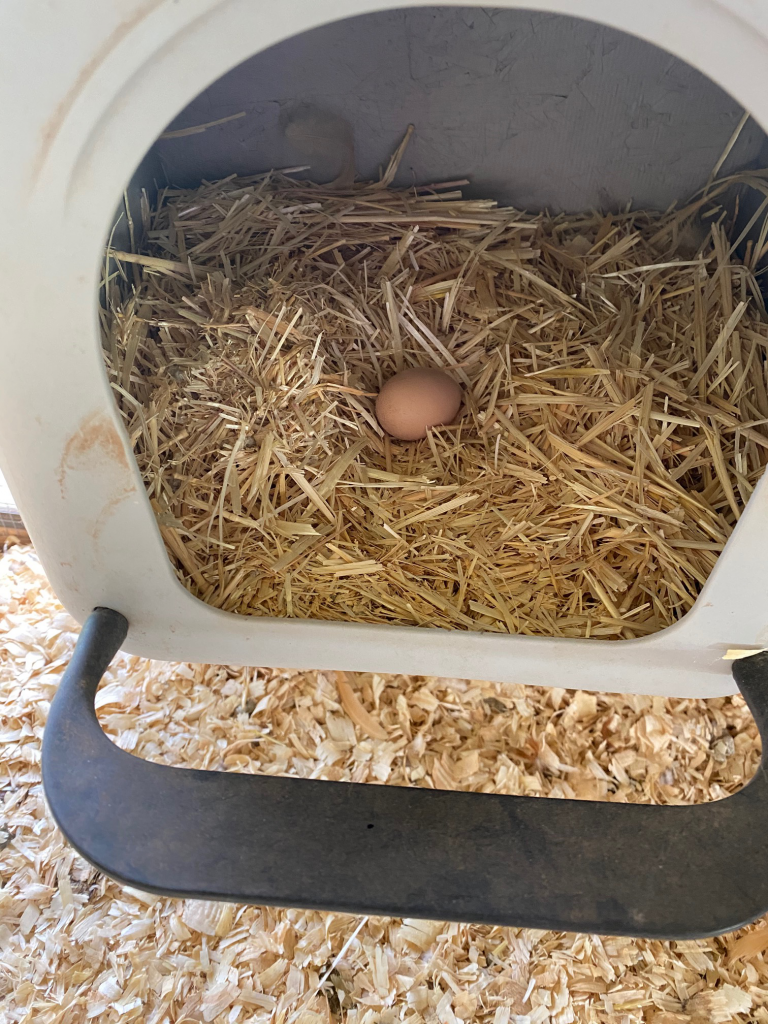
The hens had access to six nesting boxes that were hung on the front wall. Inside the coop were two metal hanging feeders. When all of the chickens were fully grown we hung the feeders under the poop deck so that they were out of the walkway. We tried several different watering systems. First was the plastic container pictured above. We also hung a nipple watering bucket under the poop deck between the two hanging feeders. Eventually we also installed a nipple watering station on the outside of the coop. It worked great and was easy to install but it froze and busted over the winter.
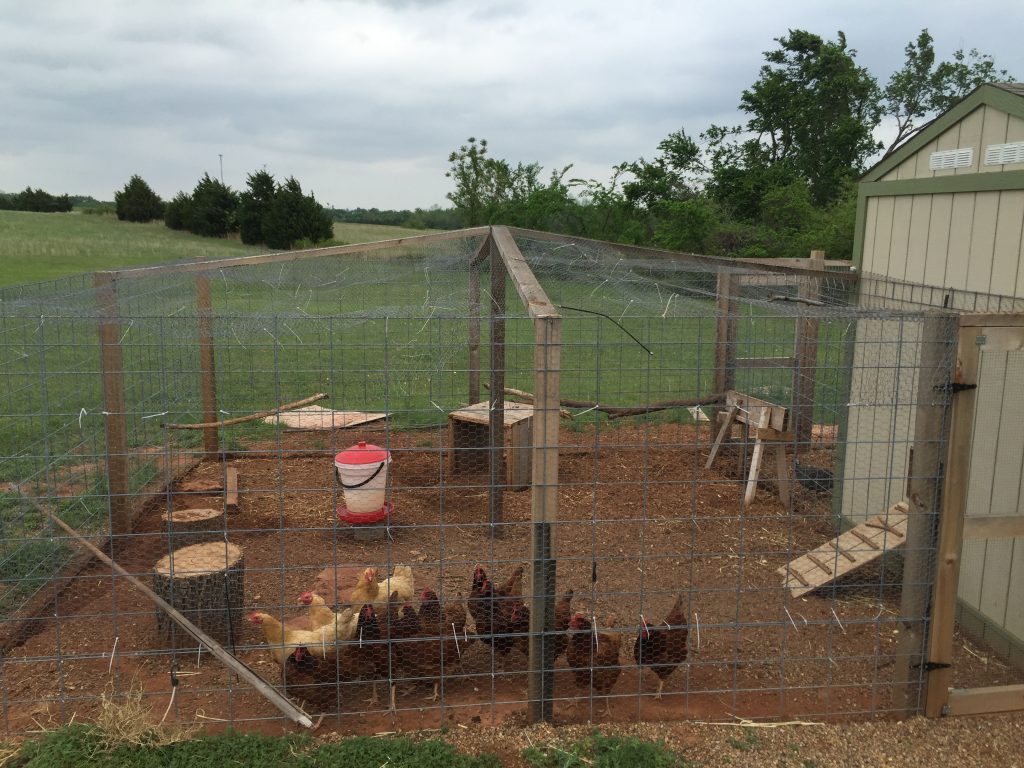
Originally there was only a 16’x16′ fully enclosed run (pictured above). Eventually, we fenced in a large run so that the chickens had a safe place to free-range.


Products We Have Used And Recommend
- 25LB Outdoor Rainproof Galvanized Chicken Feeder 20 Liter Capacity Rent-A-Coop
- 5 Gallon/ 4 Automatic Chicken Nipple Water Cup Chicken Waterer (Corner Placement) Rent-A-Coop
- Automatic Chicken Water Nipple Cup Waterer Kit for Poultry Rent-A-Coop
- Treadle Feeder Rent-A-Coop
- Hen Hydrator (3.5 Gallon) Durable Transparent Plastic Poultry Waterer with Water Nipples
- Harris Farms Poultry Drinker, 6.25 Gallon
- Hanging Poultry & Gamebird Feeder with Feed Pan, 30 Lb Galvanized Steel
- Plastic Nesting Box Chicken Nest Box with Perch
- JVR Automatic Chicken Door Coop Opener Kit, Rainproof Outdoor Timer Controller Actuator Motor
Separate Guinea Coop
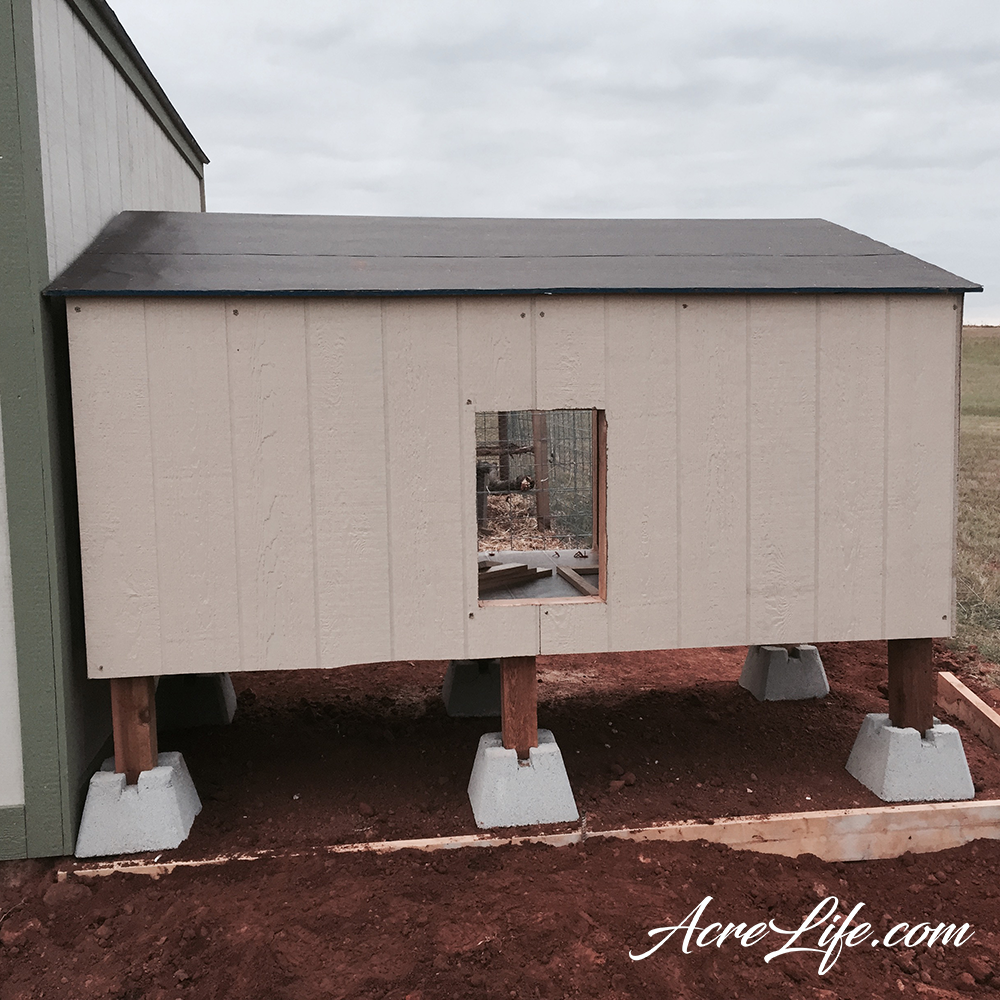
We also built a small coop for the guinea that we put on the backside of the chicken coop. It had a fully enclosed fence so they were safe at night because they preferred sleeping outside rather than inside the coop. This is the best picture that I have and it’s not even complete. But this was all done before I started this blog and I wasn’t very good at remembering to take pictures.

Chicken Coop Remodel
There were several improvements that we made to the chicken coop before we bought our chicks this year. We continue to make improvements now that our flock is living there. Also, there is a list of improvements that we are still planning on making. The items bolded below are complete.
- Add plywood to the walls and ceiling
- Add an automatic door for the chicken’s entrance
- Build a new poop deck
- Add a pest-free feeder
- Add a new indoor and outdoor watering system
- Move the guinea coop to the large run and repair damages
- Give the chickens some fun areas to play
- Plant a chicken garden
- Provide a shaded area
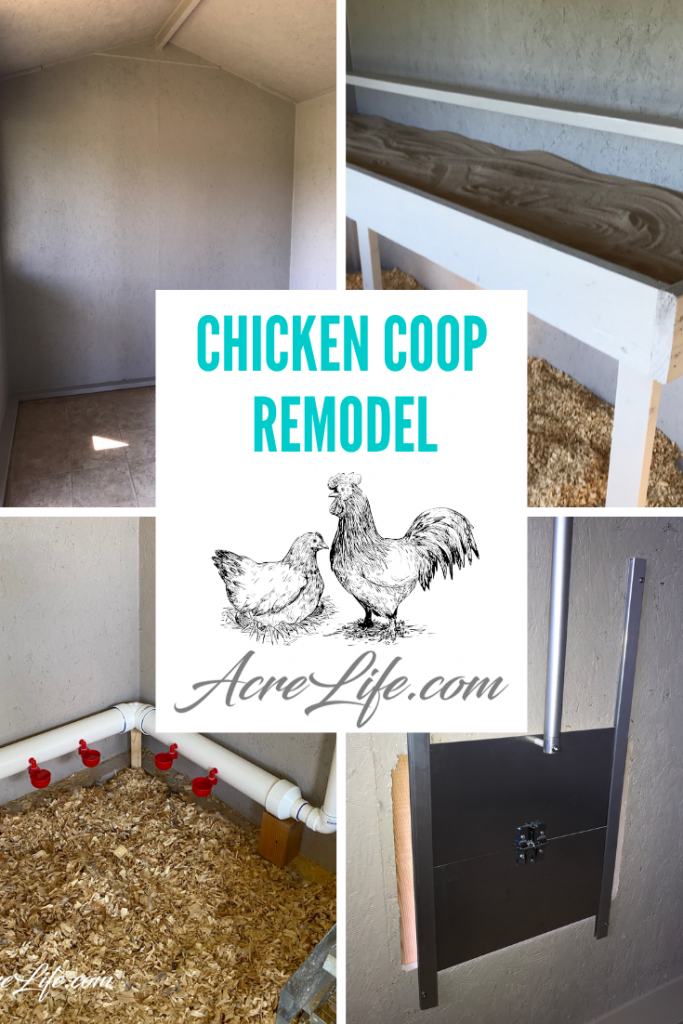
Plywood Walls and Ceiling
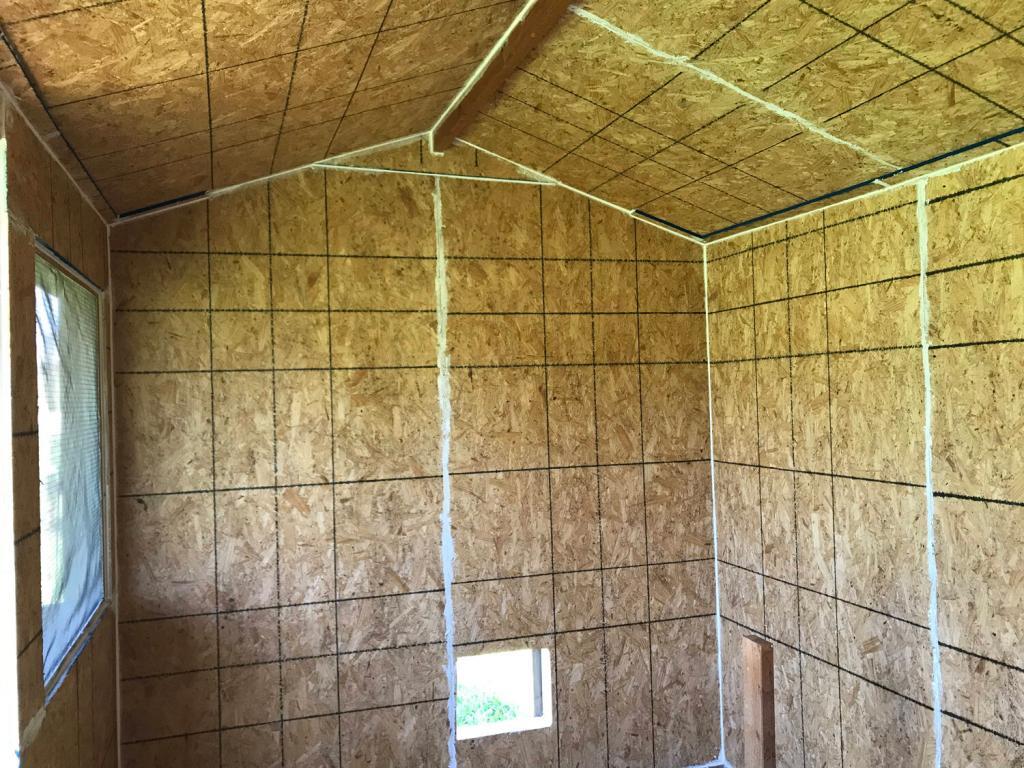
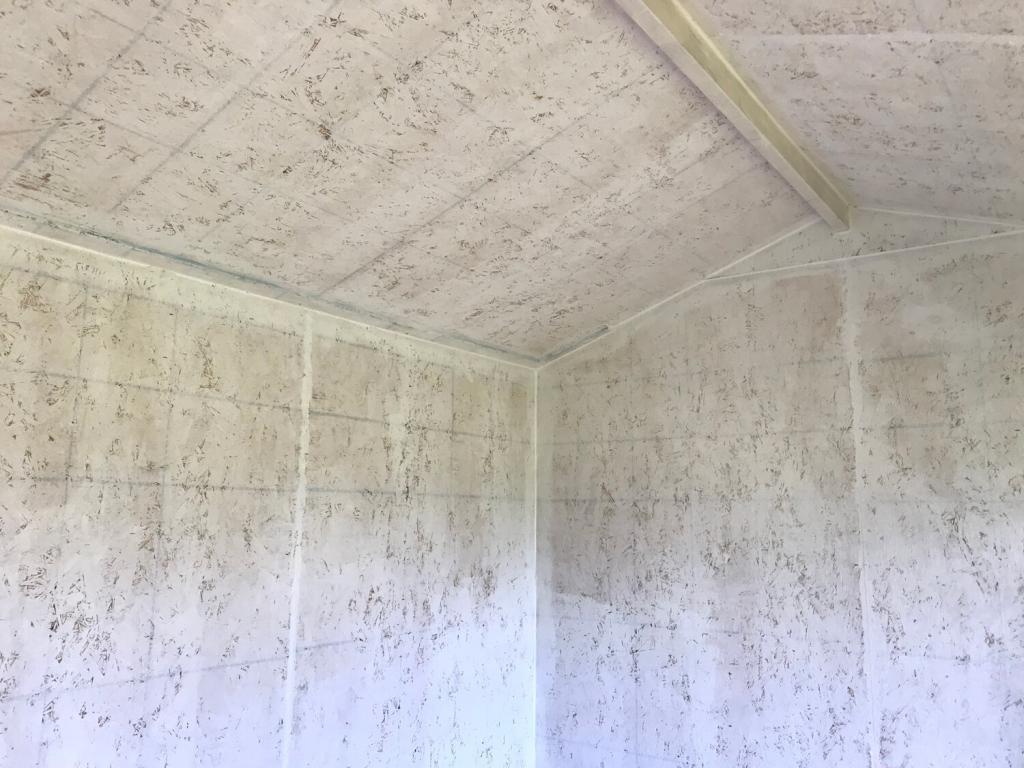
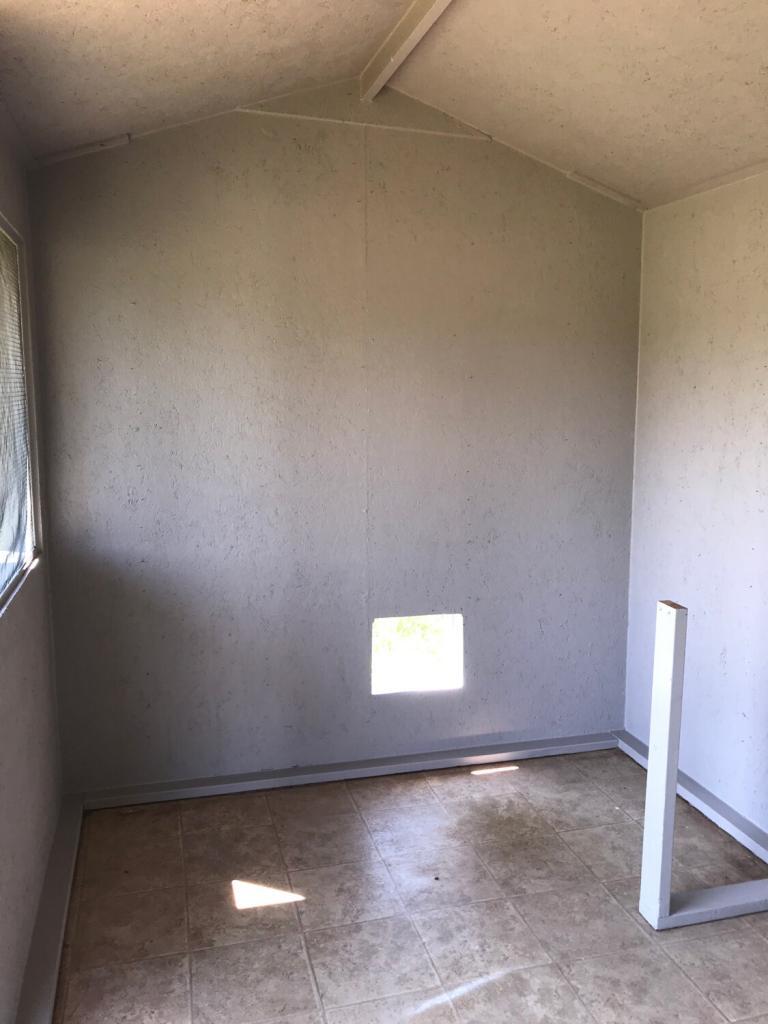
The first improvement that we made during the chicken coop remodel was to add plywood to the walls and ceiling. We considered adding insulation between the walls but decided against it because we didn’t want to have to deal with possible mold issues since the coop isn’t sealed properly. However, simply adding a layer of plywood has given the coop a little more insulation so far. I will update after winter to let you know how warm it is inside. Oklahoma winters aren’t too cold so I don’t anticipate having a problem. One winter we covered the front windows with tarps and put in a heat lamp but another winter we didn’t do either of those and the chickens survived.
The reason that we chose to add the plywood was purely cosmetic. Spiders loved spinning webs between all of the exposed studs. Mice built nests behind one of the nesting boxes (I still have nightmares). Poop found it’s way into crevices. Overall it just looked gross even though I cleaned it regularly. I know you may be thinking to yourself, “it’s a chicken coop.” But that doesn’t mean it has to be gross.
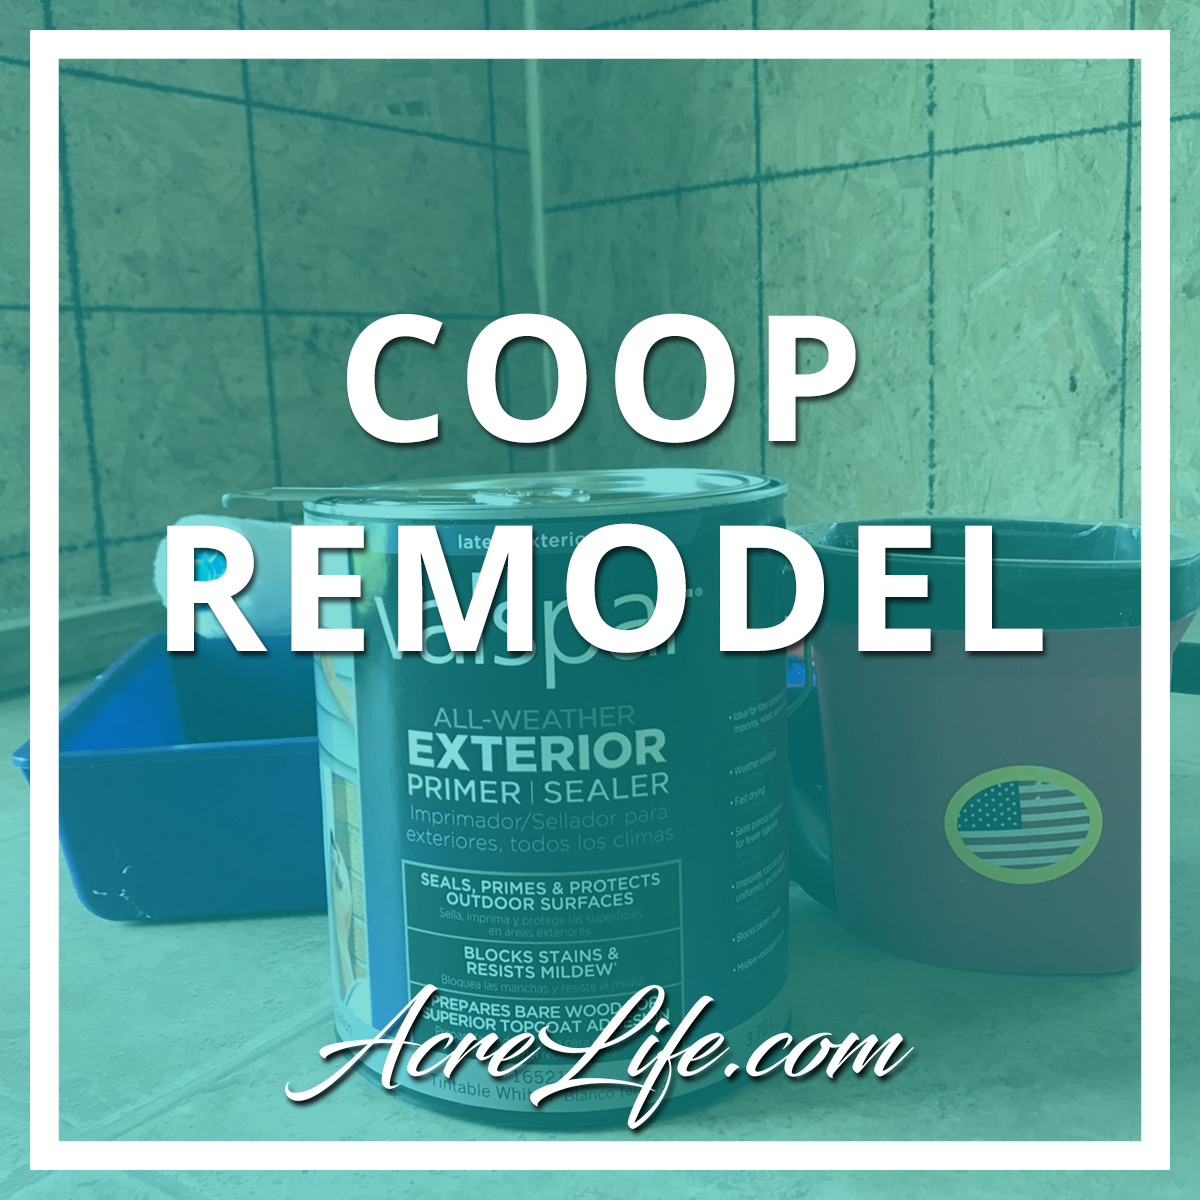
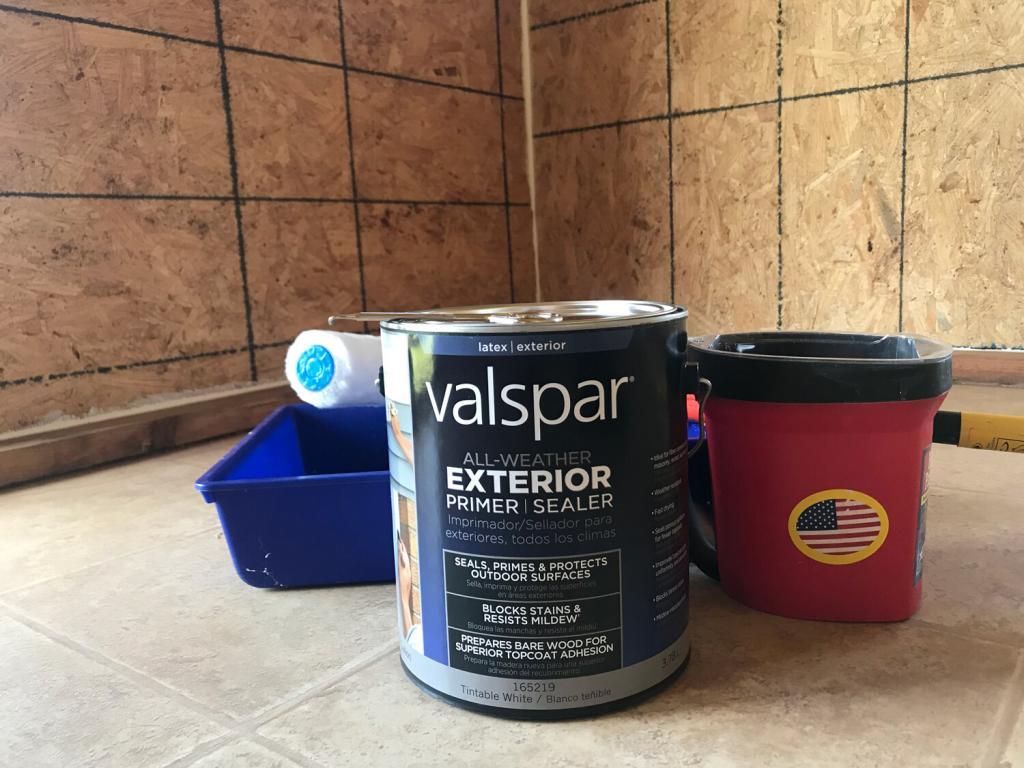
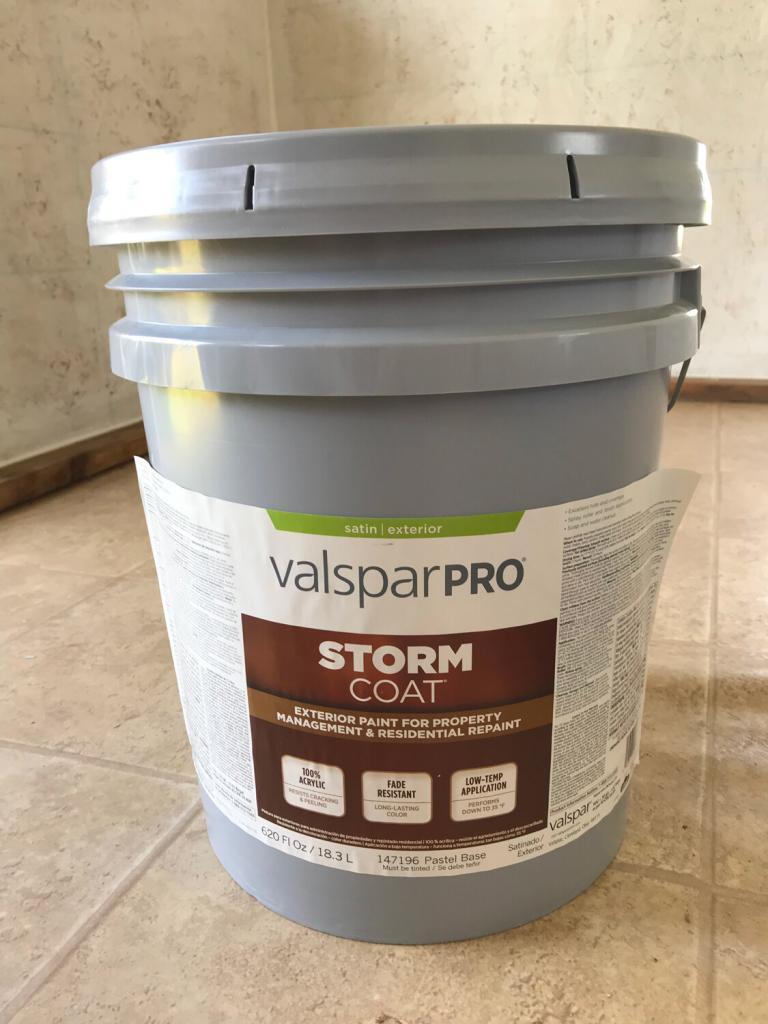
We caulked all the joints and primed the entire interior. There wasn’t really a need to spend a significant amount of money on a specific paint color. Our local Lowe’s has a discount section of paint and we got lucky with a 5-gallon bucket of exterior paint for $35. Priming and painting weren’t only done to make it look better. Sealing the wood will protect it from moisture and also make cleaning easier.
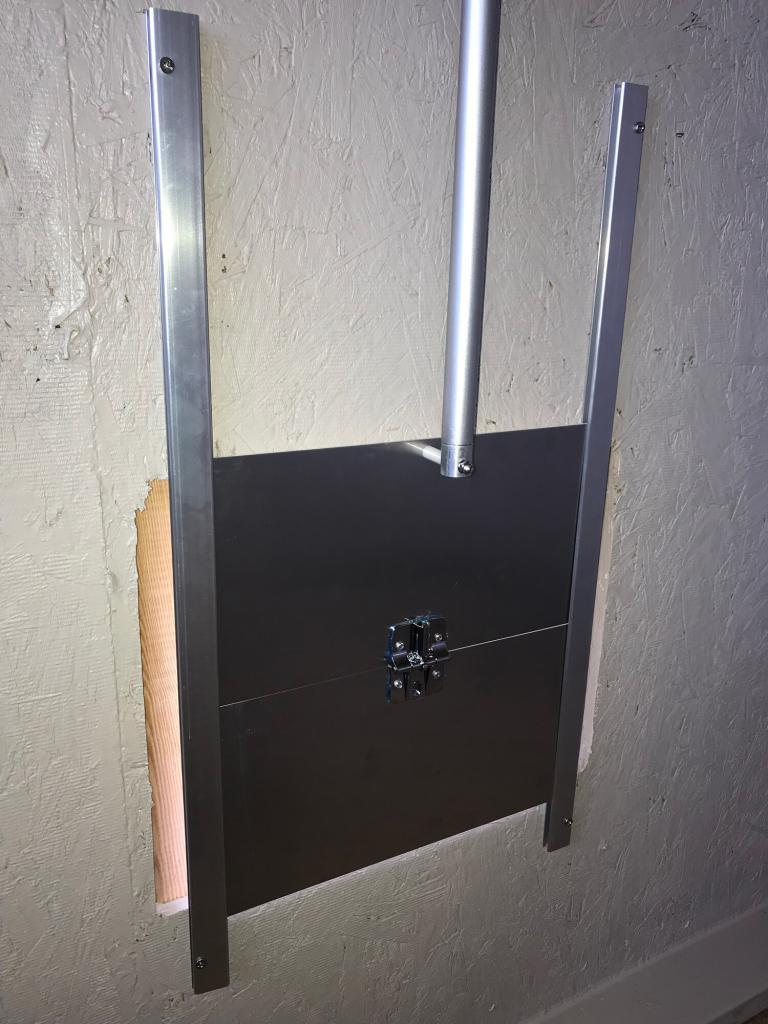
Automatic Door
As I mentioned before, our original coop had a manual door that eventually broke off. We were able to shut the enclosed run every night so the chickens were safe from predators but it was a real pain to go down after dark every night. And the flock wasn’t happy if I didn’t get down there early enough to let them out in the morning.
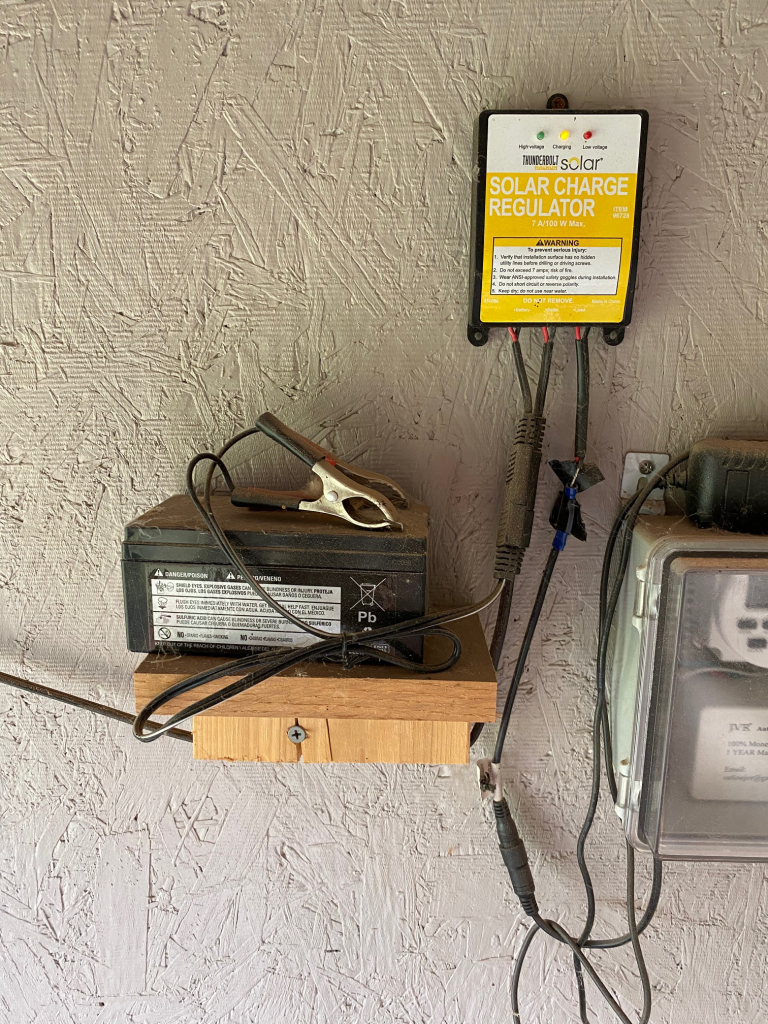
So for the chicken coop remodel we got an automatic door and it is my favorite thing!!! Installation was easy. The solar panel took some trial and error. We finally got the correct set-up with a 25 Watt Solar Panel Kit and a 12V battery. The programming took some trial and error. But now it all works without any flaws.
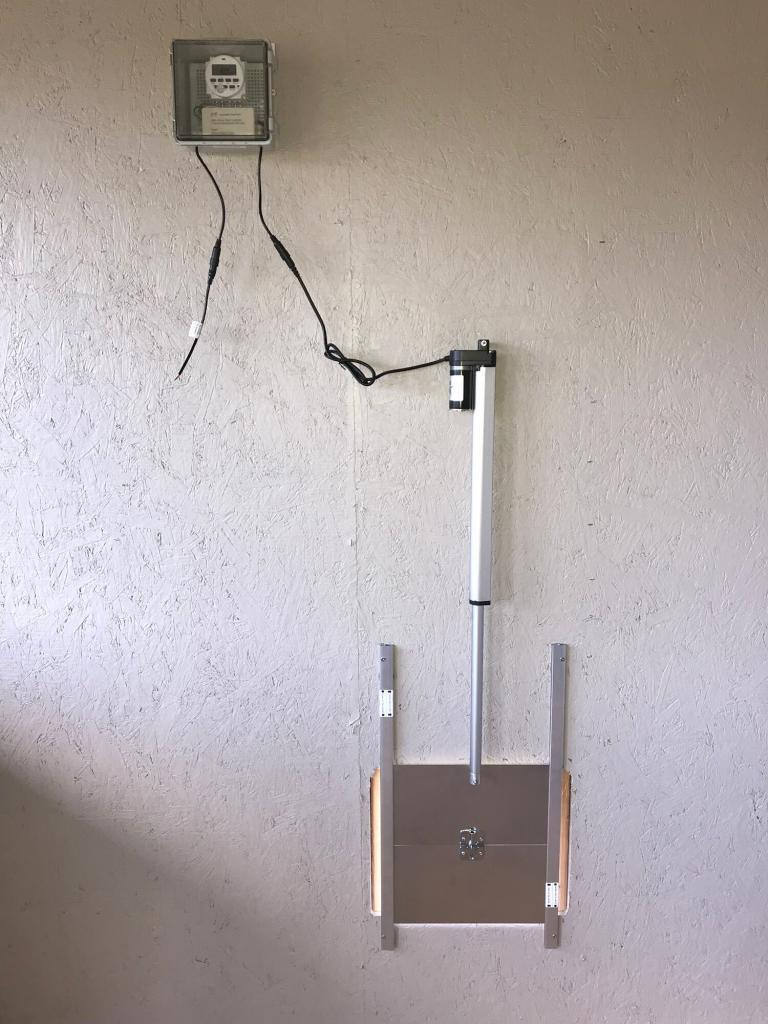
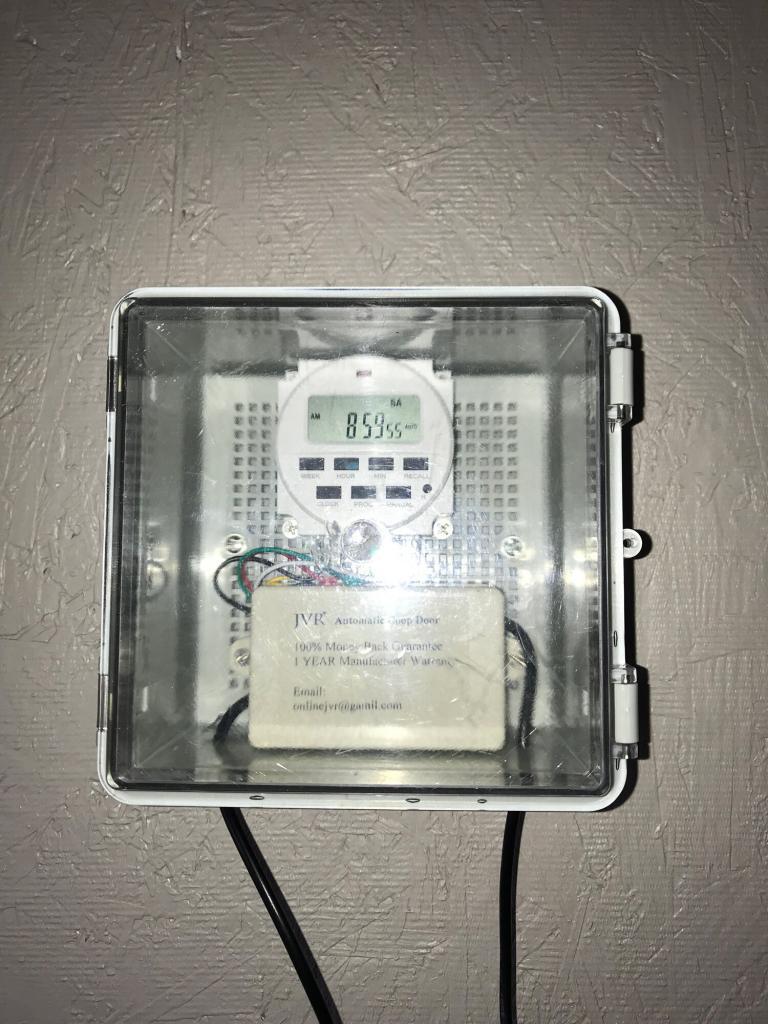
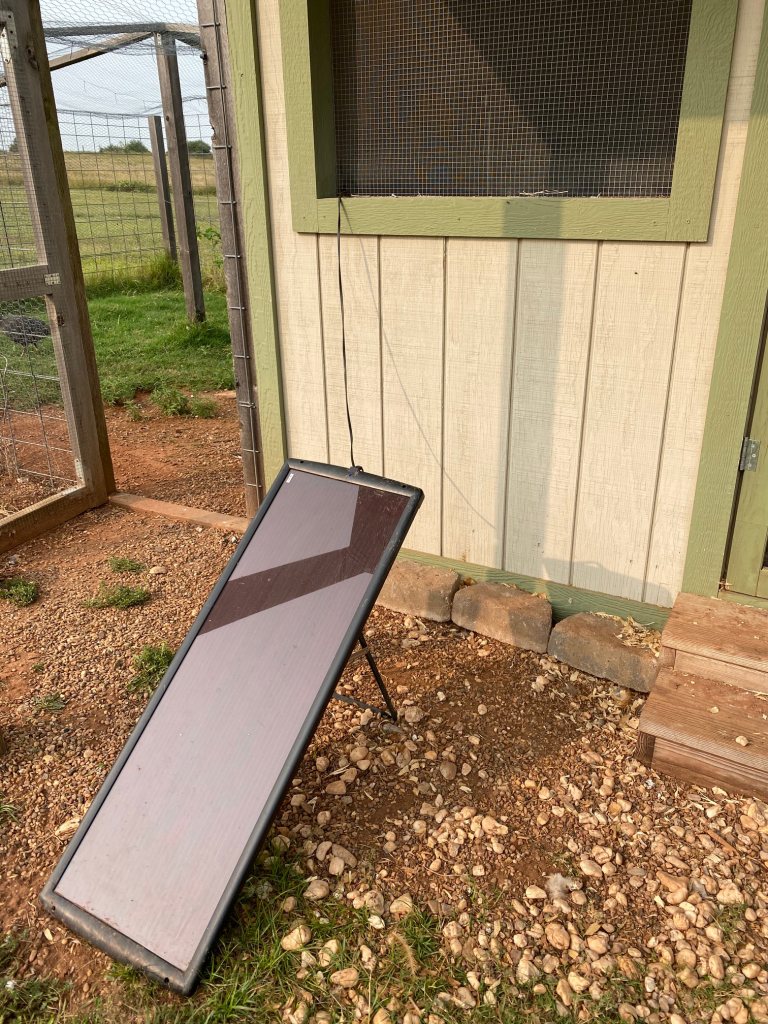


JVR now has a model that is compatible with Amazon Alexa and Google Home for those of you who would like to have an app to control your door. If this had been available when we bought ours I would have opted for this version. There have been several nights that I’ve walked down to the coop at night just to make sure that the door was closed.
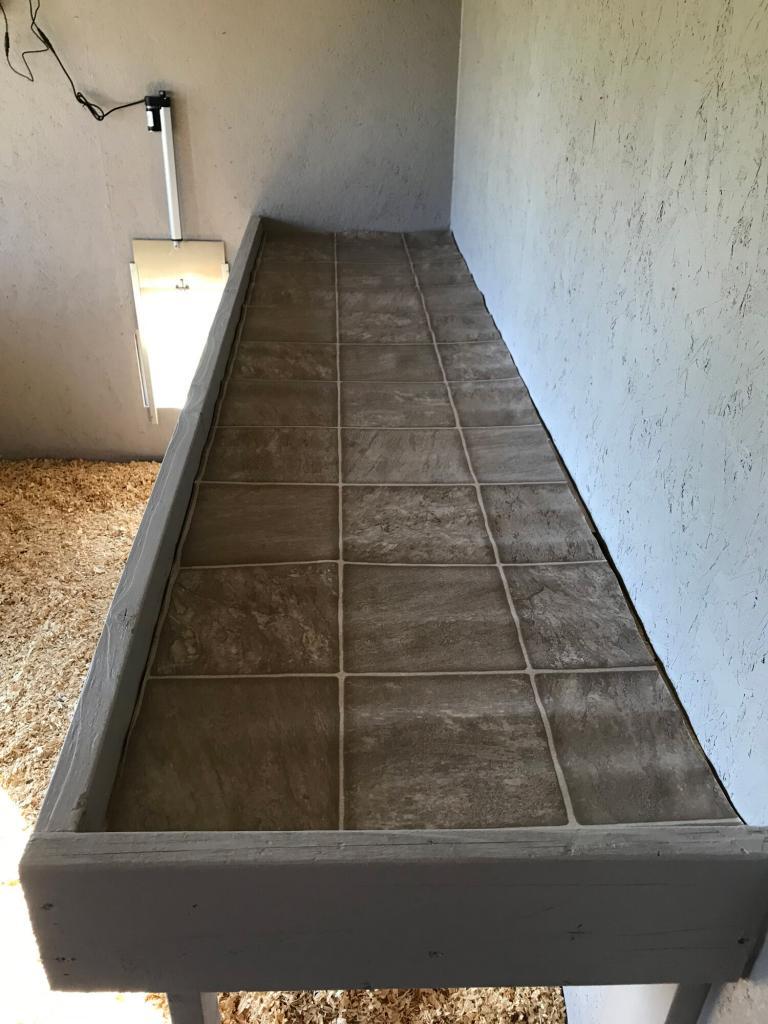
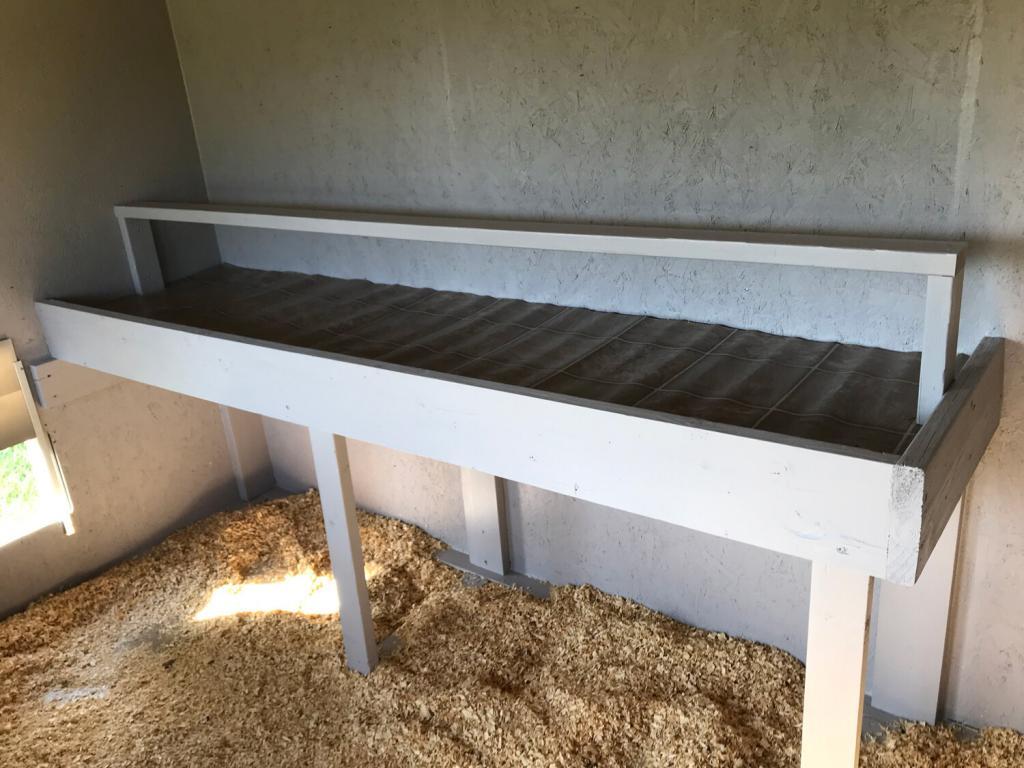
New Poop Deck
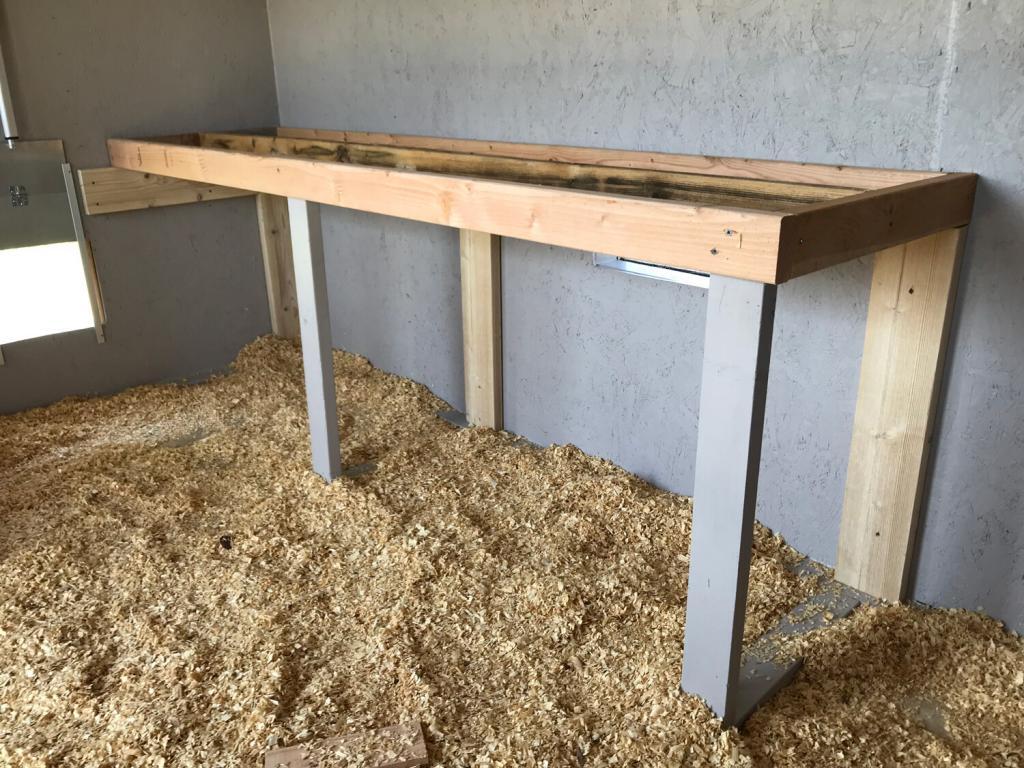
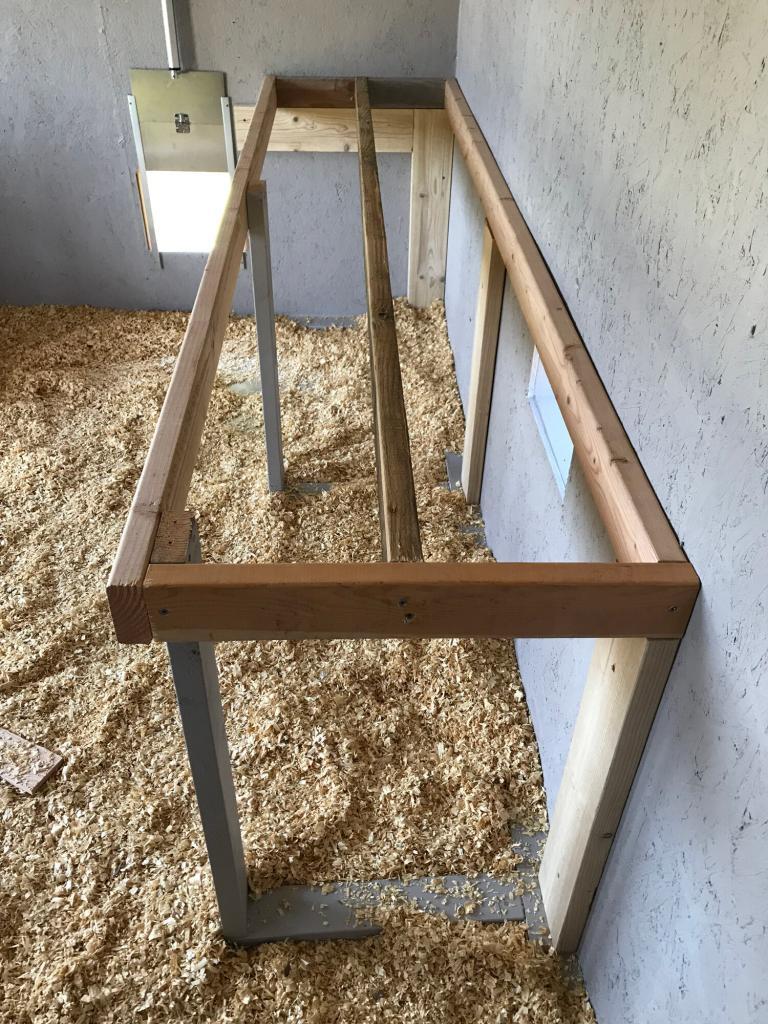
There were several reasons that we decided to remove the old poop deck and build a new one. The main reason was that the old one was too big. We wanted to add an indoor watering system and needed the space that used to be part of the poop deck. Our flock is now half the size that it used to be and we don’t anticipate ever having 30 birds in the coop again. The second reason was that the bottom was warping and sand was always falling down through some of the cracks.
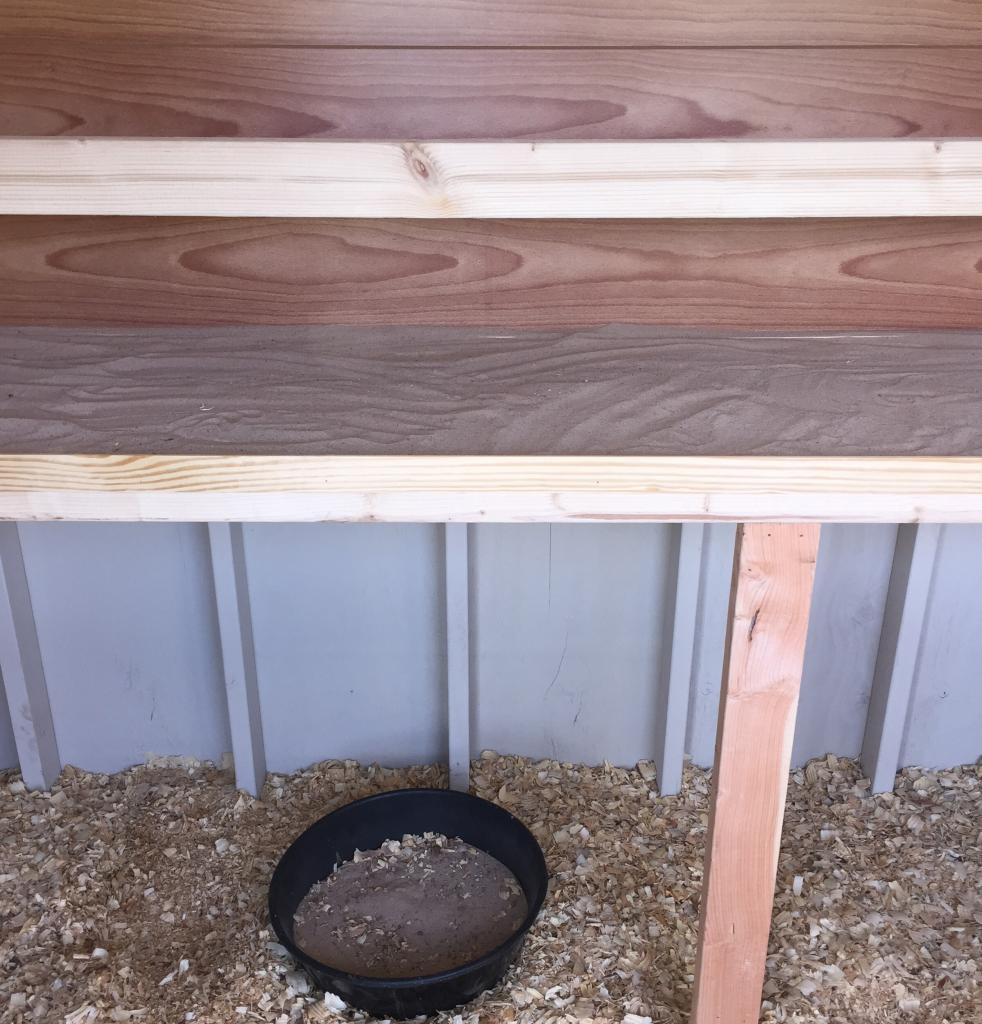
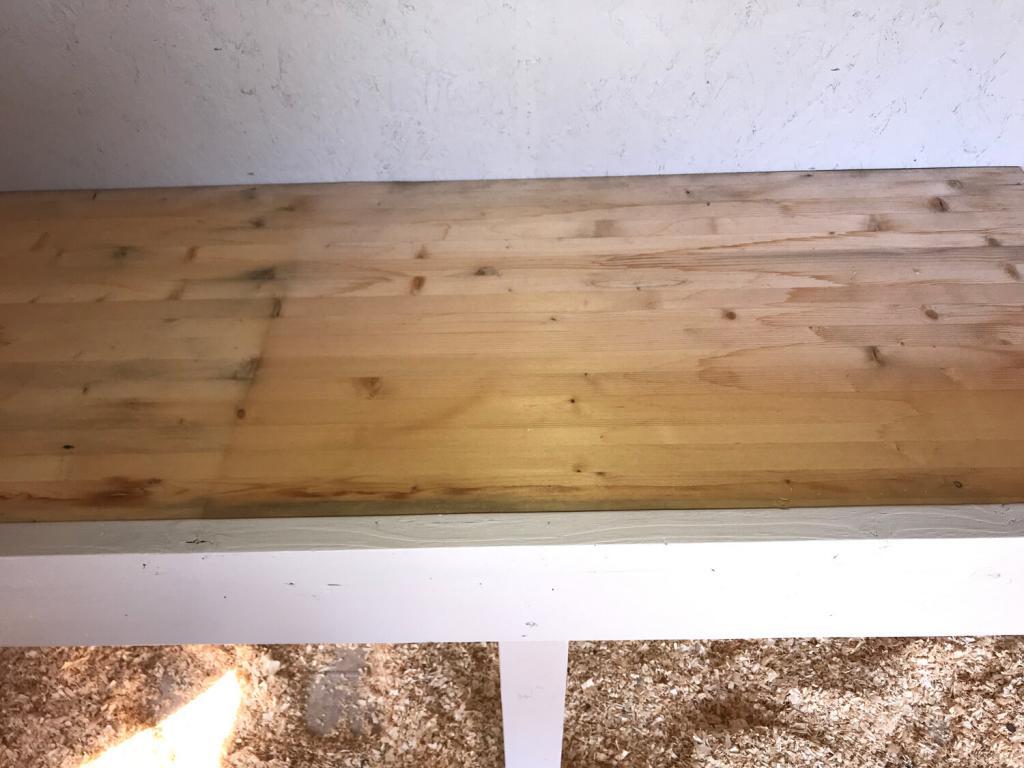
The support braces from the old deck were still in place. We attached supports to the walls and built the frame for the bottom of the poop deck. Then we added wood to the bottom of the deck. I would recommend choosing something solid so that the sand doesn’t fall through. You could even use plywood since it is relatively inexpensive. Next, we cut a piece of linoleum to cover the bottom wood. This step is very important. Put linoleum on your floor and on the poop deck to make clean-up easy and to protect your wood. The roost went on next. As you can see from the pictures, everything was painted after each step. Finally, the sand was added to complete the poop deck.

I haven’t included any building instructions, measurements, or materials because each coop is going to be different. We also tend to use materials that we have on hand to cut down on costs. However, if you have any questions please feel free to email me or ask your question in the comments below.
Pest Free Feeder
Chickens are messy eaters and all of that food on the ground attracts mice. You may have other predators in your area that steal your chicken feed. I mentioned our mouse problem in our original coop. We have done everything that we can to prevent them from taking up residence in our remodeled coop. I know that it is impossible to keep them out entirely but eliminating their food source helps.
This feeder opens when the chickens step on the front plate and closes when they step off. There is a 3 step training process so your chickens can learn how the feeder works. The metal grill over the food keeps the waste to a minimum. When I watched the chickens eat from the hanging feeder I think that more ended up on the floor than in their mouths.

Our chickens spend the majority of their time during the day in the small coop (previously the guinea coop). Since the main coop is used for laying eggs during the day we decided to install a feeder on the small coop so that there was less disturbance while the hens were trying to lay eggs. We needed something waterproof since it would be outside and also something that would cut down on waste. Again, chickens are messy eaters.

25LB Outdoor Rainproof Galvanized Chicken Feeder 20 Liter Capacity
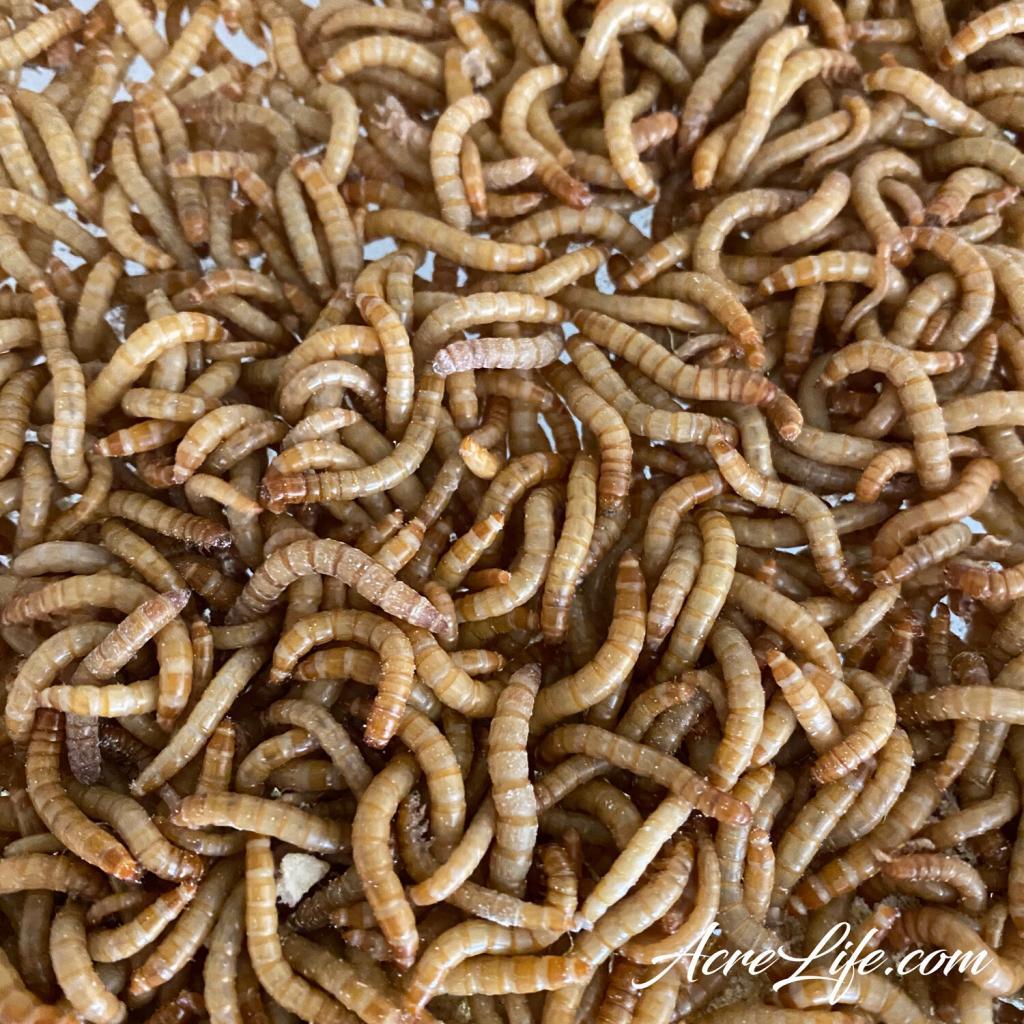
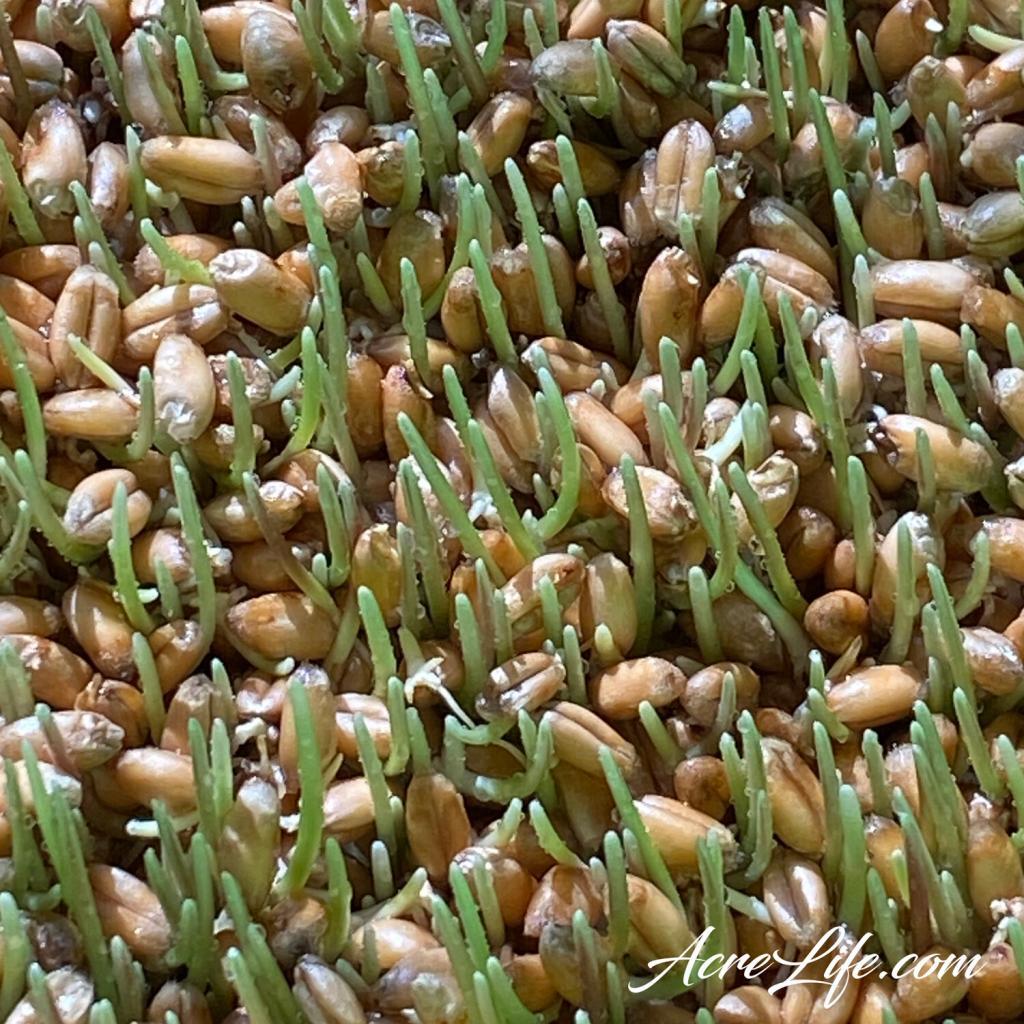
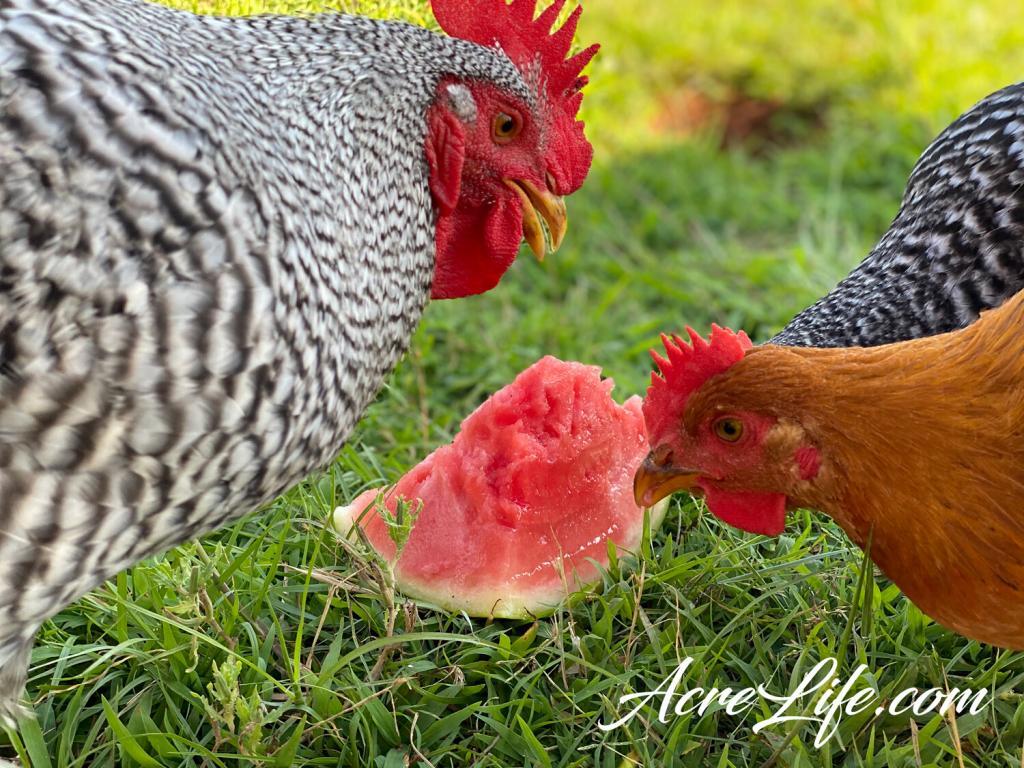
I would like to note here that we currently grow mealworms and fodder to supplement our chicken’s diet. In addition, they get treats like watermelon and apples as treats on hot days and oatmeal on cold days.
Watering System
You may have noticed through pictures and our list of “products that we use” there are several different watering options. Water is essential for survival so we always make sure that the chickens have access to fresh water at all times. When water sits inside of plastic in the sun all day mold grows. Therefore we are continually on the search for the most efficient and clean watering system available.
I cannot stress enough that chickens need fresh water at all times. If you live in the south you know that water evaporates and is consumed quickly during the hot summer months. So having a large watering system or multiple systems is a must. As well as having close access to water. We moved our frost free pump right next to the coop.
The hanging buckets as well as the buckets that sit on the ground or elevated on a block work great. They are handy to have around so that you can put them in different locations if your chickens free range. The drawback is that when they are full they are heavy and difficult (for me at least) to move.
We built a simple watering system inside and outside of the coop using PVC pipe and these- Rent-A-Coop Automatic Chicken Water Nipple Cup Waterer Kit for Poultry. For the system inside, we ran a pipe to the outside of the coop so I can fill them both without having to move away from the pump. It is efficient and super easy!
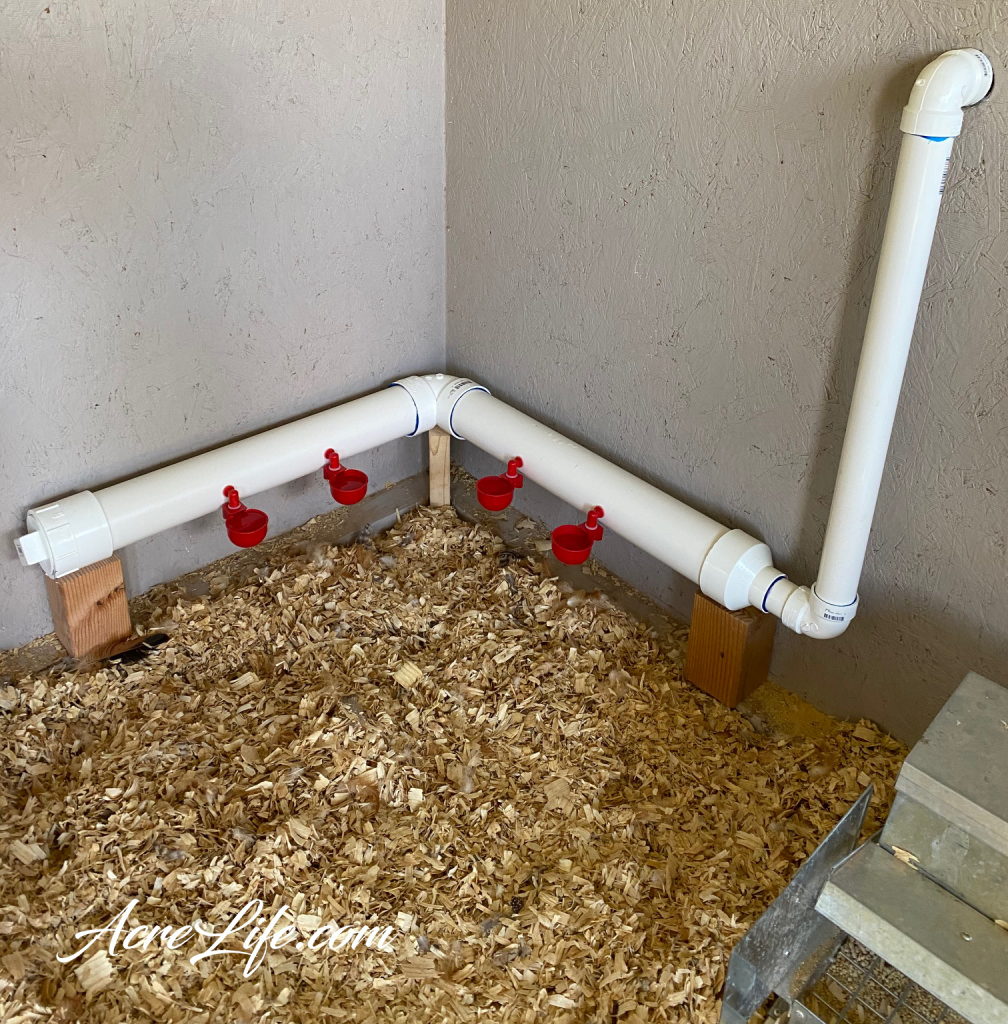
Inside the Coop 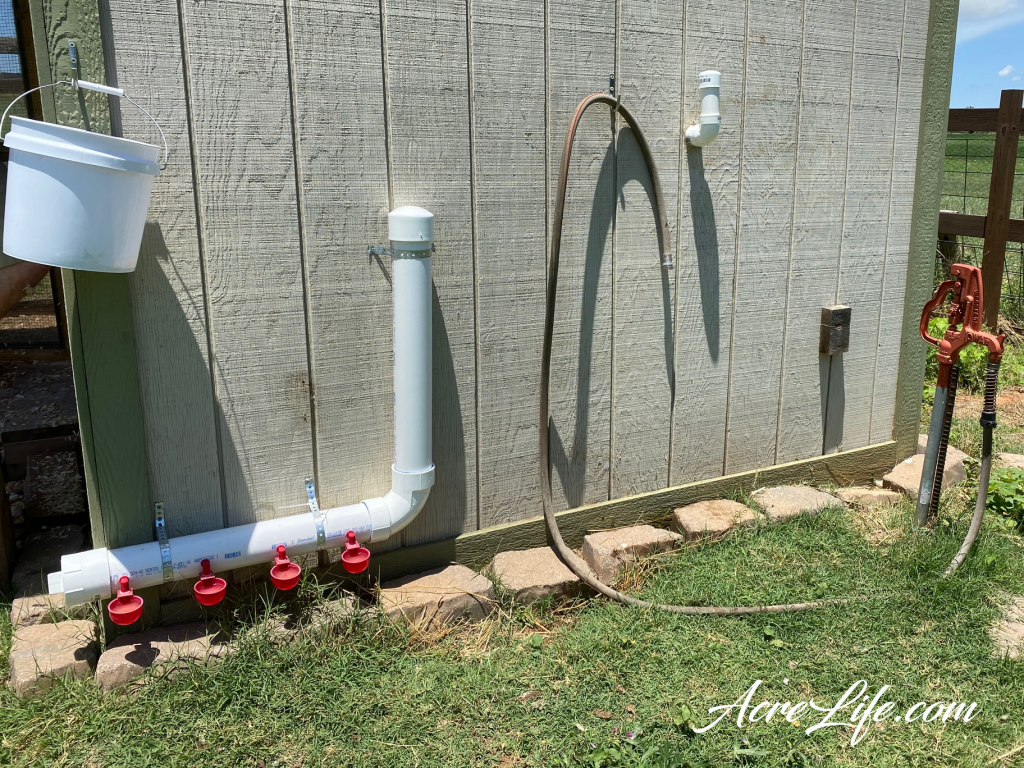
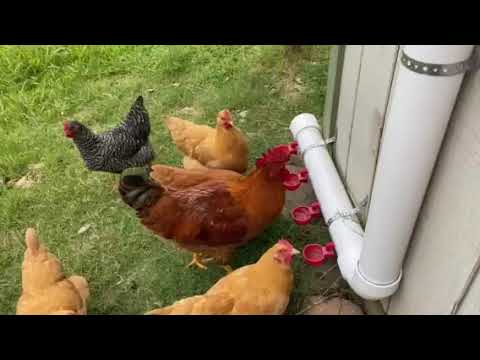
Easily Fill the Inside & Outside Stations

Re-purpose the Guinea Coop
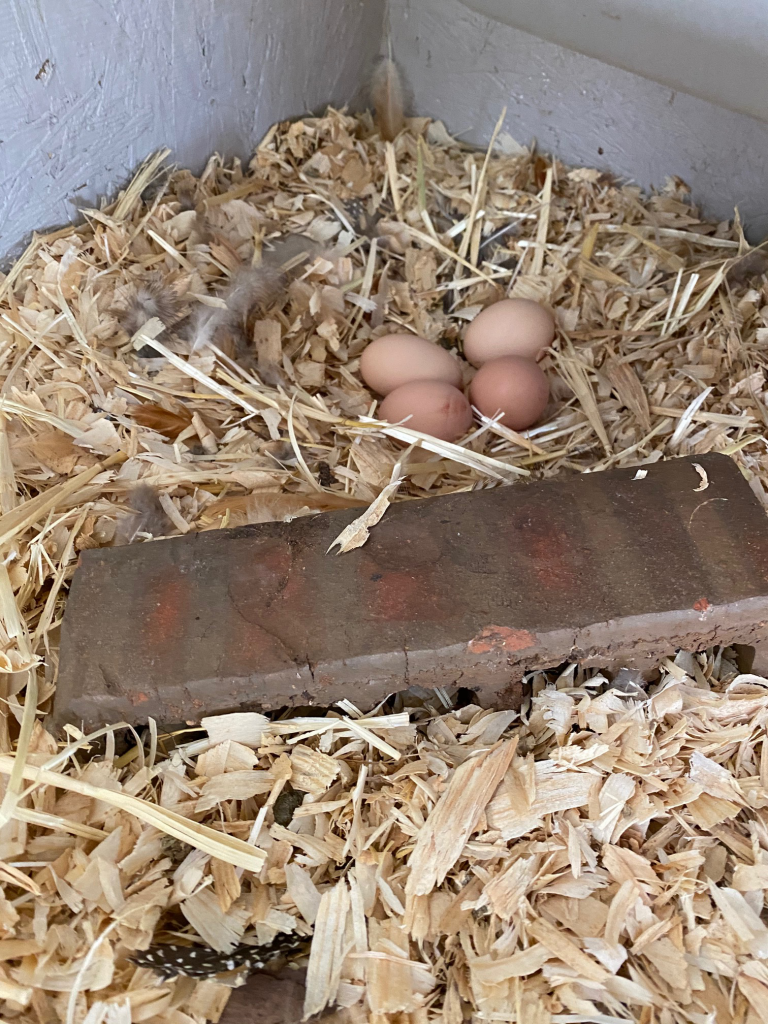
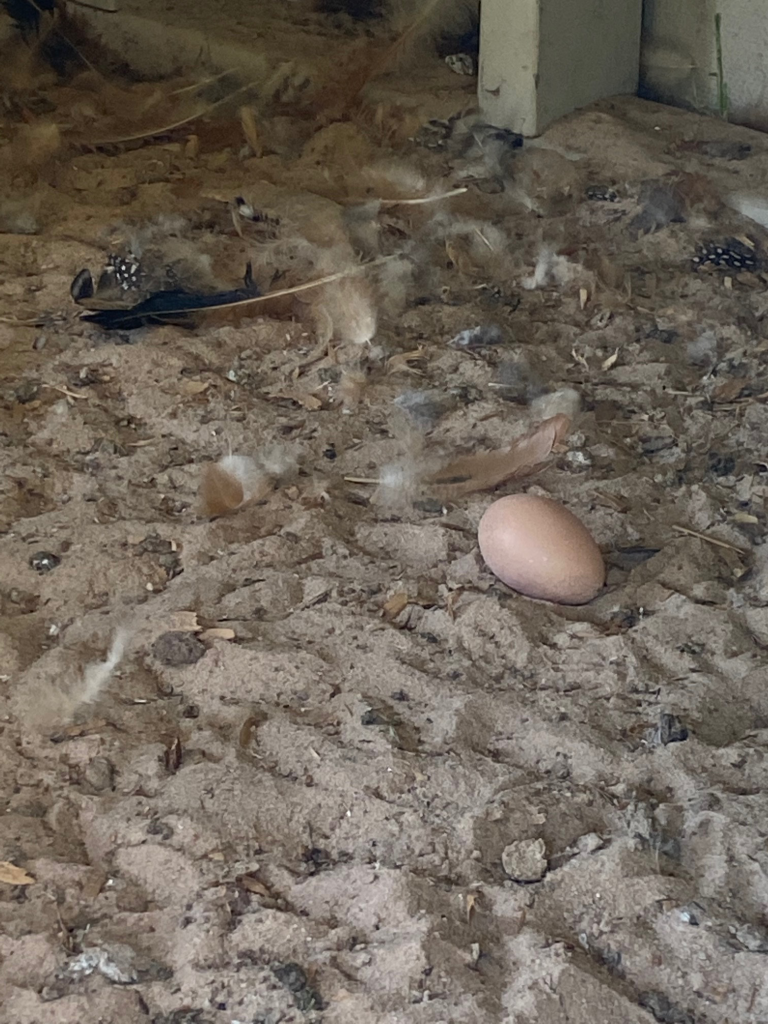
We currently only have 1 guinea and he sleeps in the trees at night. So the guinea coop is now referred to as the small coop. When we moved it we did some damage so it isn’t the prettiest coop right now. However, the chickens LOVE it and spend most of the day inside. Until recently they even laid eggs inside. Luckily they are only laying in the main coop now, but some still prefer to lay their eggs on the ground, under the nesting boxes. Yesterday I put bricks underneath the nesting boxes hoping to deter them. It worked in one location but they just moved it out of the way in the other location.
The best part about the small coop is that it is very well ventilated. That is why they spend so much time there during the day. The floor is covered in linoleum then I spread several bags of sand. As you can see from the middle picture above, I don’t even really clean it. They have created several dust-bath areas around the outside of the coop where they take advantage of the shade. I have several ideas to make it look better on the outside and I will share those pictures when we get to it.
Chicken Playground
I want to give the chickens some fun areas to play during the day so that they will stop flying over the fence. I’m not sure if it will work but that’s the plan. The first toy I want to give them is a chicken swing. I got the idea when I looked out one day and they were taking turns swinging on the cord that runs from the solar panel to the coop.
If you have any fun toys for your chickens I would love for you to share them in the comments below so that I can get some good ideas.
Chicken Garden
Their own garden is also an attempt to keep them from flying over the fence. But more than that, it will give them some vegetable that will supplement their chicken feed and cut down on our food cost.
I’ll update here when we get this started and let you know what we have planted in their garden.
Shade
I haven’t decided if natural shade from a tree or man-made shade from a structure will be best. Obviously a tree would add beauty but will take years to provide abundant shade. I also worry that a tree might attract aerial predators. We may plant a tree but also build a porch overhang off of the small coop to give them some immediate shade and some beauty to look forward to.