
I’ve decided to raise chickens, now what?
Those cute little balls of feathers are pretty irresistible and I’m so glad that you are raising baby chicks. But before you box up those chicks and bring them home make sure that you are prepared to give them a safe home to thrive and grow in. You will want to gather all of your supplies before you bring the baby chicks home so that they can get settled as quickly as possible.
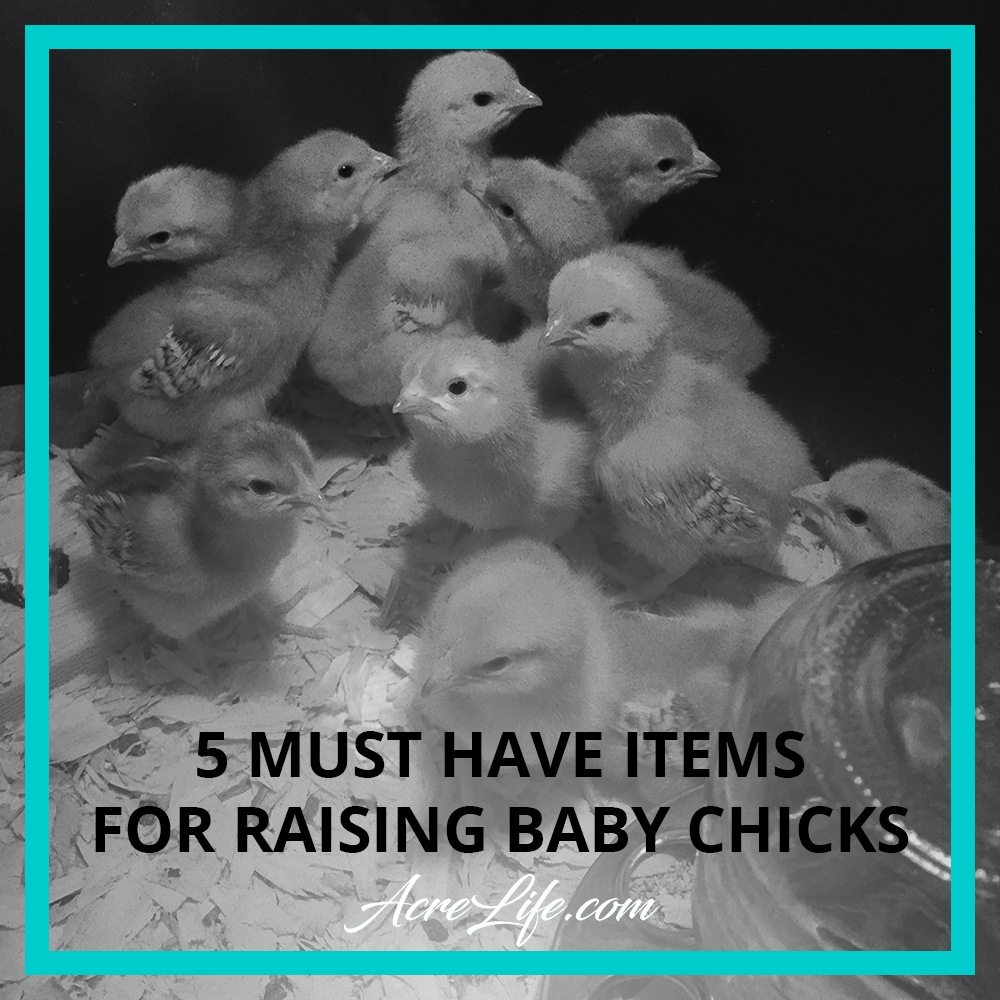
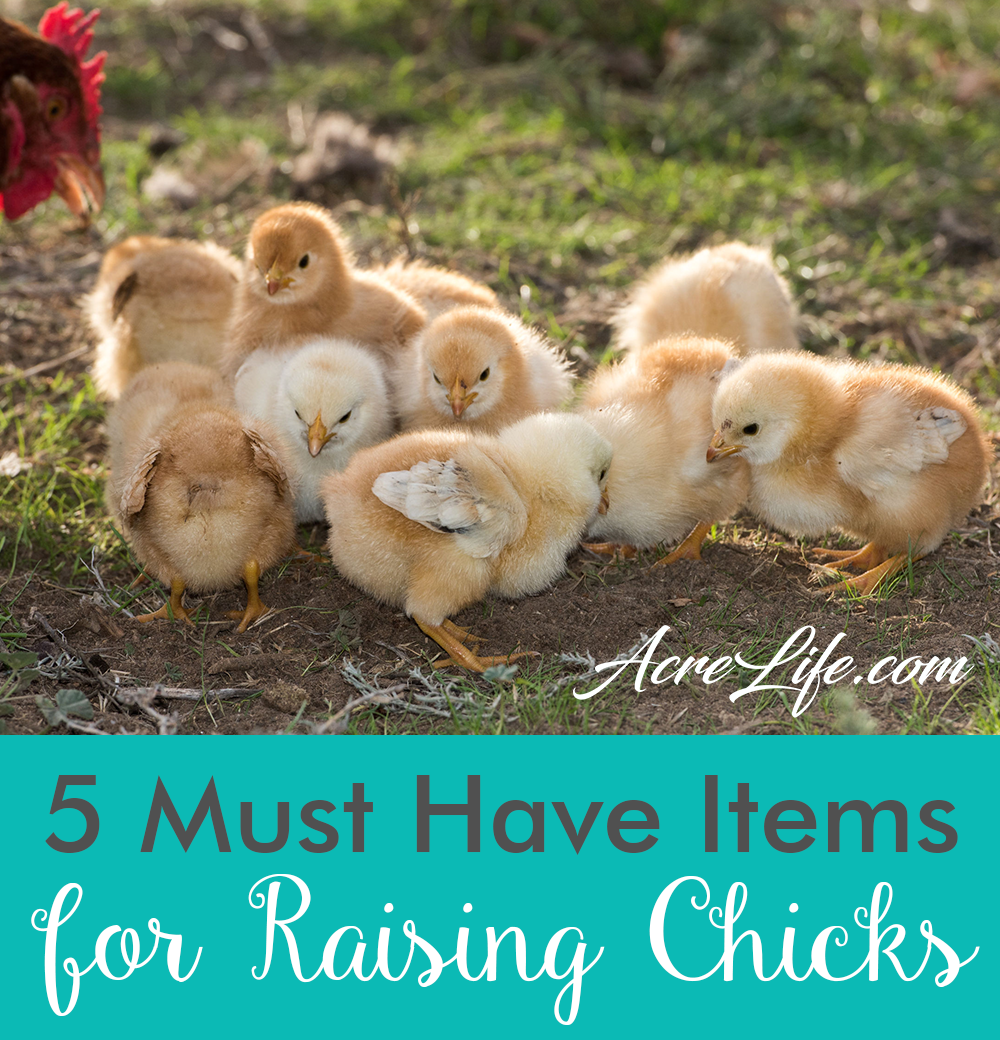
5 Must-Have Items for Raising Baby Chicks
- A container with a cover to keep them in
- Heat lamp and Thermometer
- Chick feeder
- Small waterer
- Shavings for the floor
Container
You want to make sure that they have a safe and warm place when they first come home. They’ve either been through the stress of living with a bunch of other chicks in a store. Or they’ve just made a journey through the mail. Either way, they will need to rest and learn how to eat and drink.
We used a large Rubbermaid tote that we already had. It was easy to clean out and was the perfect amount of space for the 12 Cinnamon Reds that we purchased from a hatchery. You will want to make sure that whatever box or container you choose is about 18-20 inches tall. They don’t try to fly out at first but they will try to spread their wings soon so it’s better to have a plan in place.
We had an old screen from a glass door that we just laid across the top. That also gave me peace of mind that nothing was going to get in when I wasn’t around to supervise. We kept them out in our work building and although I haven’t seen any evidence of mice or other animals I didn’t want to take any chances.
Heat Lamp
Chicks need to be kept in a warm place until they have their feathers. The temperature at the bottom of their brooding area should be 95-100 degrees for the first 2 weeks. After that, you can decrease the temperature by 5 degrees per week until they are 1 month old.


We used a red bulb heat lamp and hung it above the tub from an adjustable bungee so that we could control the height of the lamp easily. You will want to make sure that you keep your chicks away from drafts so that the temperature can remain constant. You also want to make sure that your heat lamp doesn’t touch the sides of your container or the shavings so that you avoid causing melting or a fire.
In order the regulate the temperature you will need a thermometer. Your chicks will also be a good indicator of the temperature. If they are huddled together under the heat lamp they are cold and the temperature may need to be increased. Alternatively, if they are far away from the lamp then they are probably too hot. To adjust the temperature just move the heat lamp higher or lower until they are comfortable and moving around freely.

Heat lamps are a must-have when raising baby chicks.
Feeder
You will need to feed your chicks a good quality chick feed consisting of 20% protein. You can switch to a chick grower feed consisting of 18-19% protein at about 10 weeks. Always keep their food free of any poop droppings and make sure to keep it away from their water so that it doesn’t get wet and soggy.
This is a great set for baby chicks. I used to spend a lot of time cleaning shavings out of the water but this system allows the water to stand above the shaving while also keeping it low enough that the chicks can reach it. As they grow you can hang it to adjust to their height.

This is a great food and water system for baby chicks.
Small Waterer
Your chicks will always need to have water available. When I first got my chicks I dipped their beaks into the water so that they would know what it was and how to do it. You will need to spend a significant amount of time watching your chicks to make sure that they are drinking. I had a few that took some time to learn how to drink. If you don’t identify those that are having a hard time they probably won’t make it very long.
Make sure to change the water frequently. You want to make sure that it is free of poop and shavings. I set the food and water up on wooden blocks so that they were above the shavings to try to keep as much of it out as possible.
Shavings
You will need to provide a comfortable bedding on the floor of your box or tub. For the first few days I just put down newspaper and paper towels. I covered the newspaper with paper towels so that it wasn’t as slippery. They are so tiny and I didn’t think that they would be able to walk around in the pine shavings.
You will need to keep their house clean so that they don’t get sick. This means you will be changing the flooring out every day. You can keep a separate box handy while you clean. They won’t need much room since it’s just a temporary holding space. After about a week you can put down 2-3 inches of pine shavings or hay to absorb the droppings. After that, you can change it every 2-3 days. I would still line the bottom with newspaper so that you can pick the paper and bedding up in one easy step.

Change the shavings often to keep the chicks healthy.


After setting up a safe home you get to watch your babies grow. Try not to waste too much time. We set up a wireless camera and were always able to check in on them. Now it’s time to prepare for the next stage because they are going to outgrow that tub before you know it!


Check out What Size Chicken Coop Do I Need? to choose the baby chick’s new home.

