
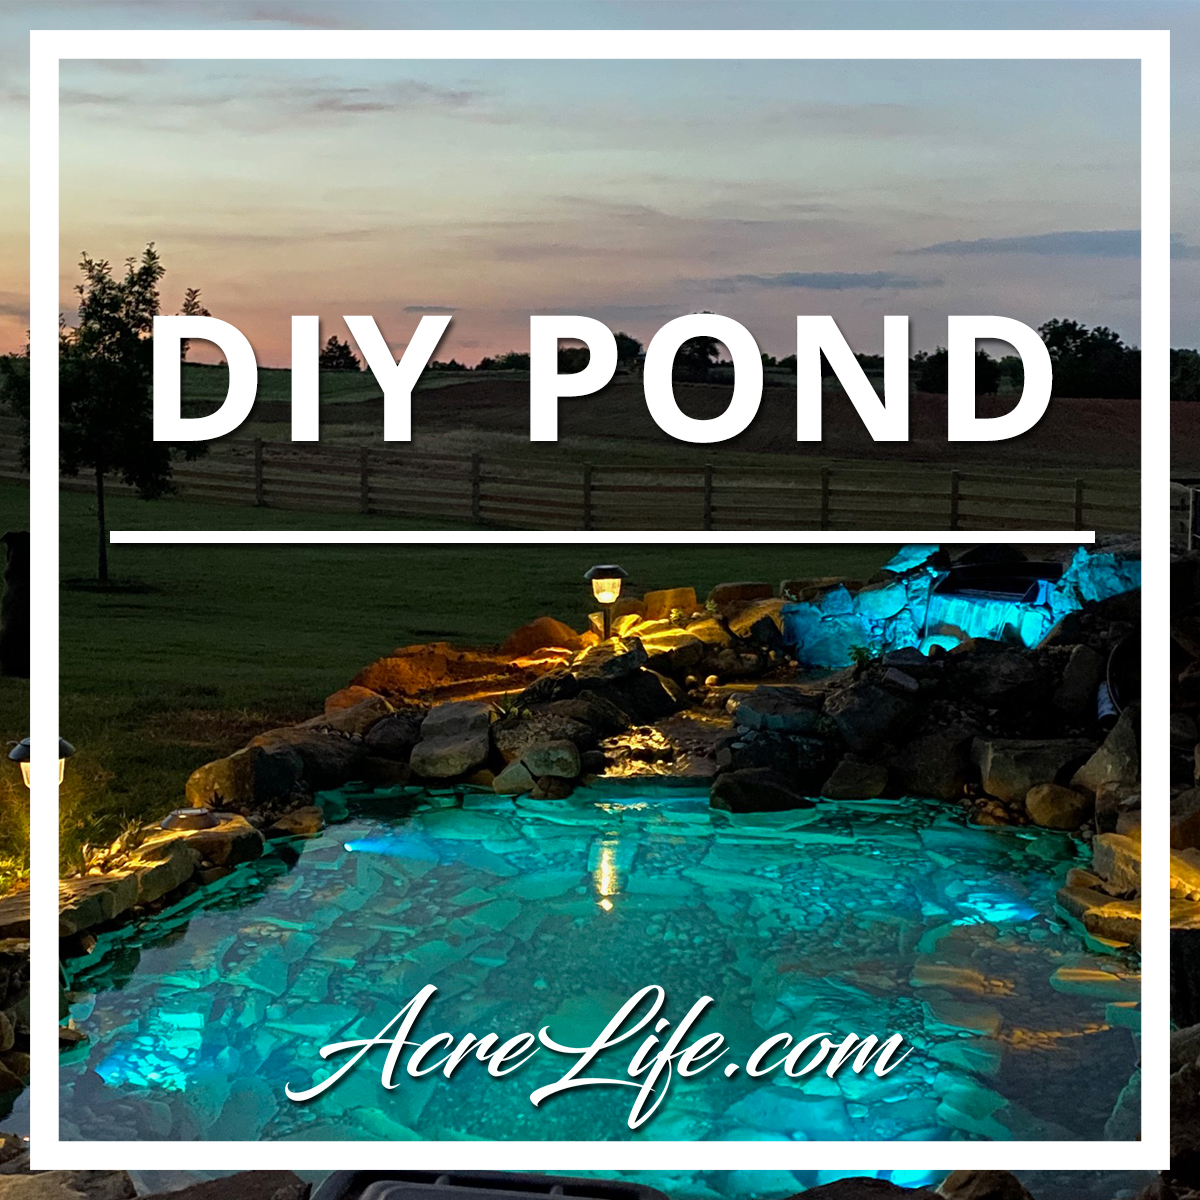

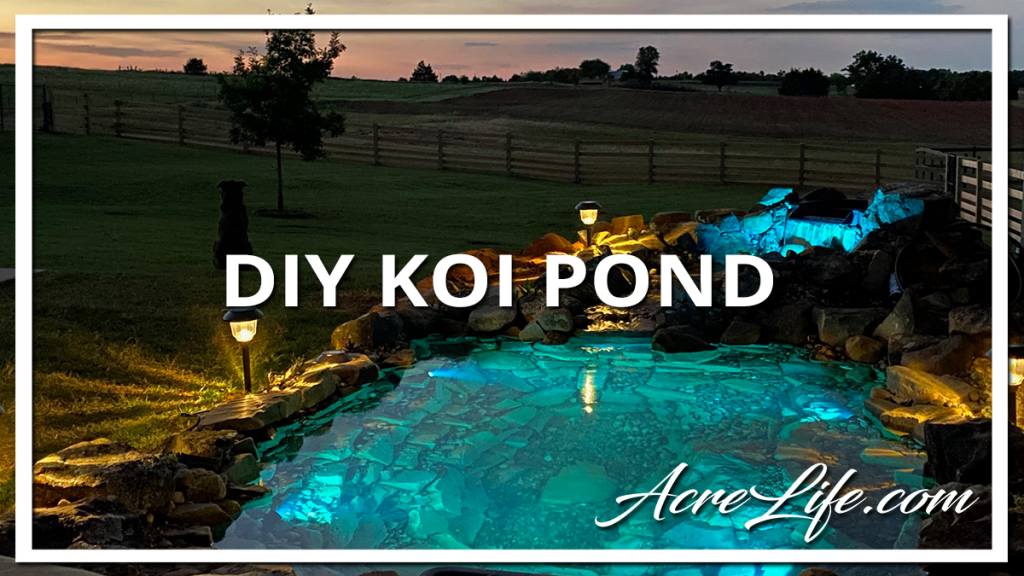
One of the features I miss the most about our previous house was our koi pond. A pond is relaxing, beautiful, and adds a great place to gather with family and friends. We considered having a pond built at our new house so that we could bring our koi with us but there was not time to have it done between the time that we closed on our previous house and the time that we moved into our current house. Fast forward 7 years and we finally have another koi pond!
How It Began
Hopefully, you saw my post on building a split rail fence. Originally we built a fence between our house and our storage building because that was the most visible area of the yard. The remainder of the yard was enclosed with black chain link. Our dog Bear loves to run and we have wanted to provide a larger yard for him as well as defining an area that we could concentrate on getting rid of stickers. So the new fence became our first Quarantine 2020 project. We actually set the posts in the fall but didn’t put the rails on until the spring.

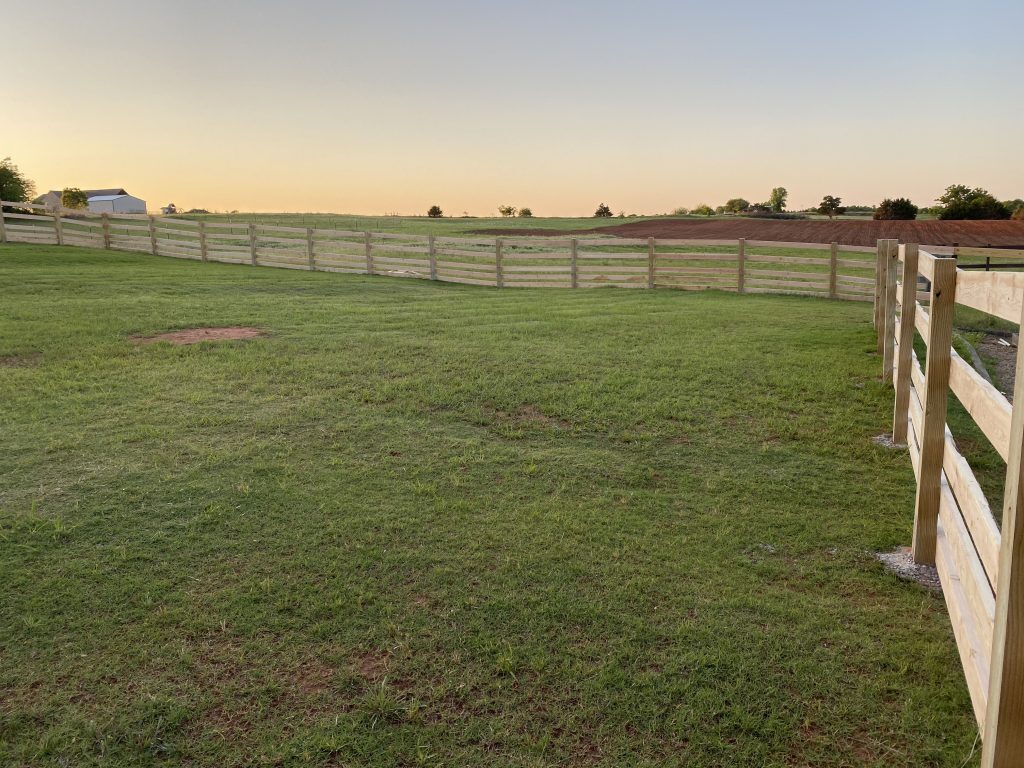
While we were working on the fence my husband said, “We should put in a pond and a fire pit so that we can really enjoy the view.”
Researching a DIY Koi Pond
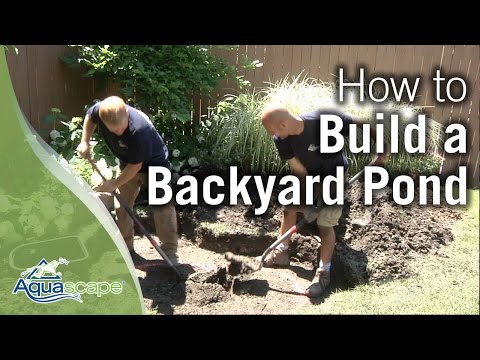
We decided that we wanted to put the pond in ourselves now that we have a few DIY projects under our belts. So the first step was to look at YouTube to figure out how to do it. We found some great resources that we referenced throughout the entire process. ThePondDigger has a great step-by-step video series.
Next, we looked for a pond kit on Amazon. We decided on the AquaScape 8×11 DIY pond kit because that was the one that was recommended by our local pond installer.


They have a very informative video using the kit above. They make it very easy to follow along during the entire process and I highly recommend this kit.
I mentioned that we made a trip to our local pond installer and talked to them about the depth requirements for our area. We were also able to purchase additional liner to use on our waterfall. You can get your additional liner at Amazon when you purchase your kit if you don’t have a local source.
Ready to Start
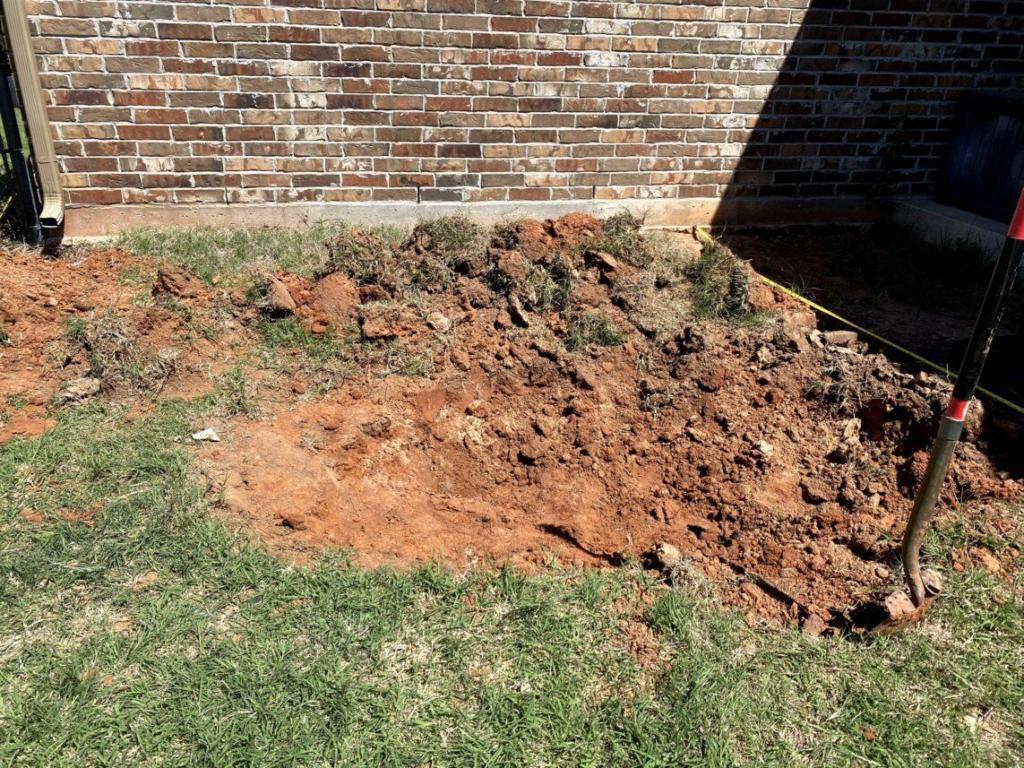
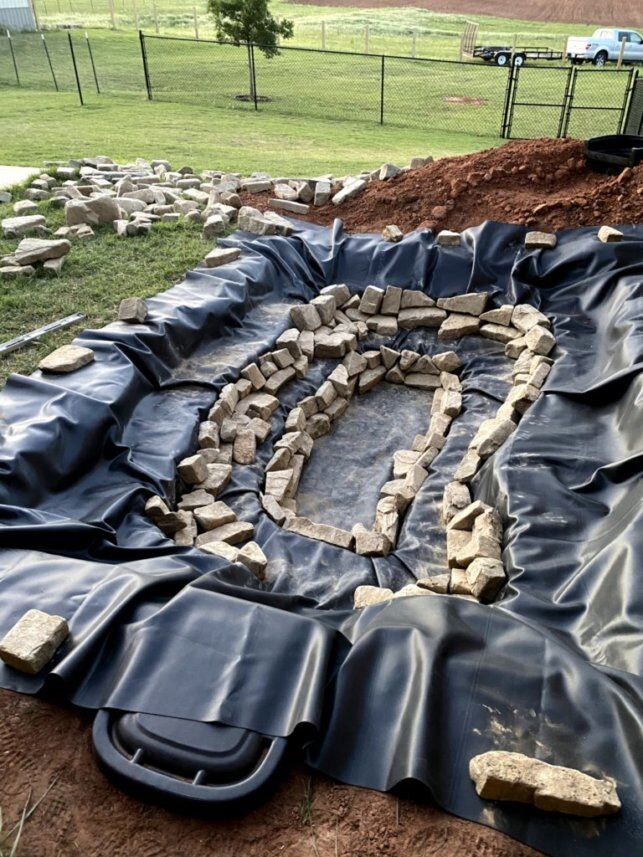
Two days after we decided that we wanted a koi pond we were ready to dig. The most important thing we heard from multiple sources was to make sure that there was at least 1 foot of liner hanging over the side when the pond is complete. We opted for a rectangular shape rather than a rounded pond to maximize the pond area. I didn’t get a picture of the area before we started digging but this was close to the beginning.
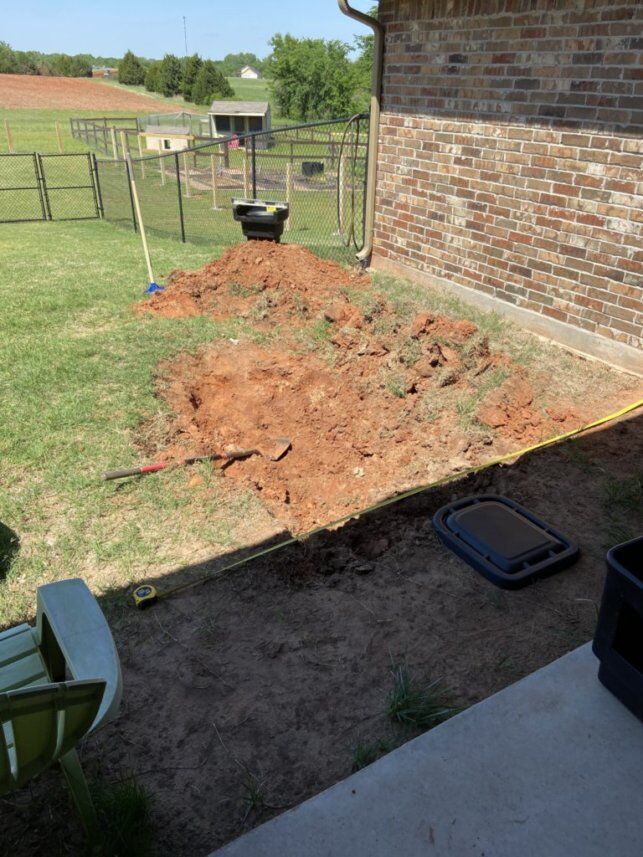
It only took a few hours to dig the first shelf of the pond and set the skimmer. After that, we just continued to build the shelves and make sure that they were level and compacted. We were very careful not to disturb the dirt along the edge of each shelf so that they remained stable.
Laying Out the Pond 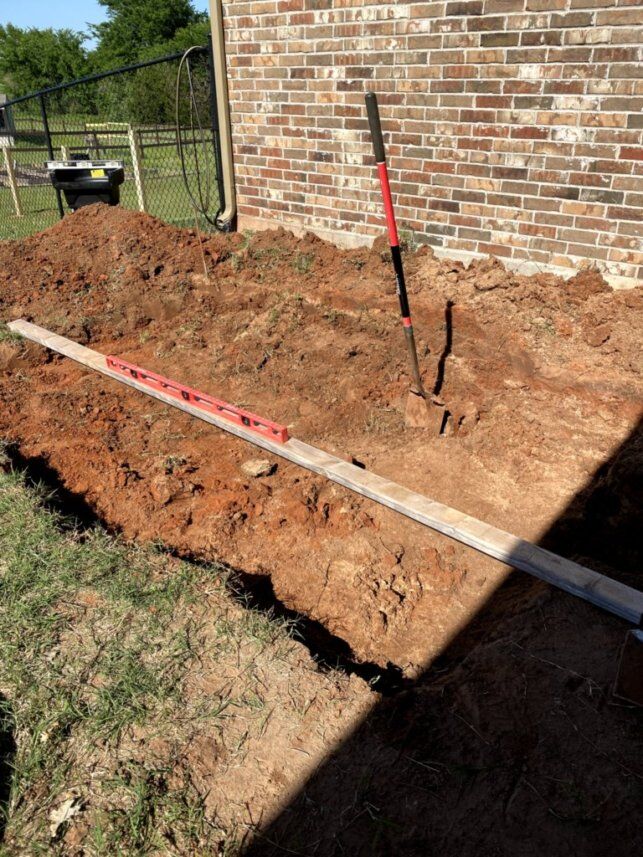
Making Sure It’s Level 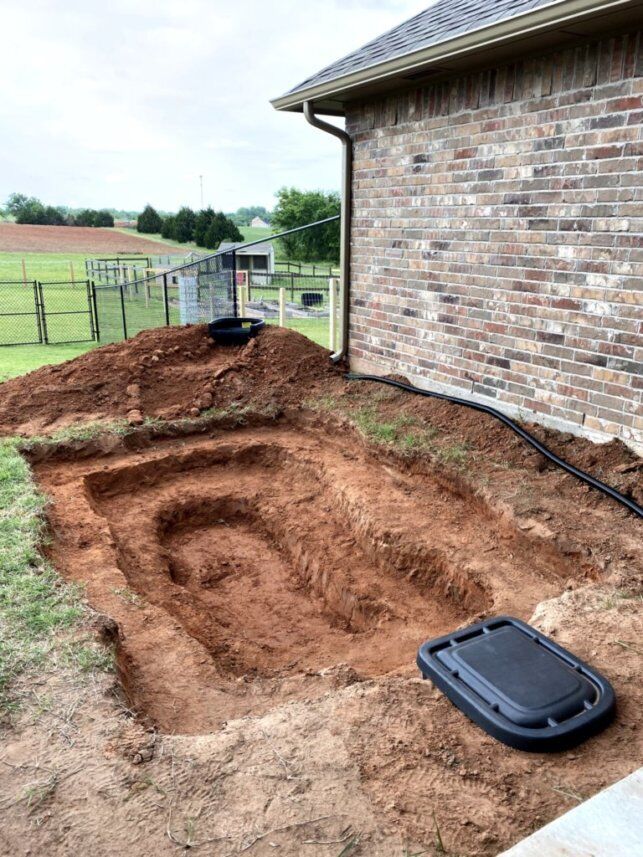
Shelves for Stability

Buying Rock
We found a local place to buy our rock that wasn’t too far away so we decided to buy it in stages. The first trip was the medium-sized rock for building the walls of the pond. We made a second trip to get some larger more decorative rocks to use as focal points for the corners and top edge. This was the end of day 3 and we had planned on going the next day to get river rock and larger moss rocks to complete the edge.
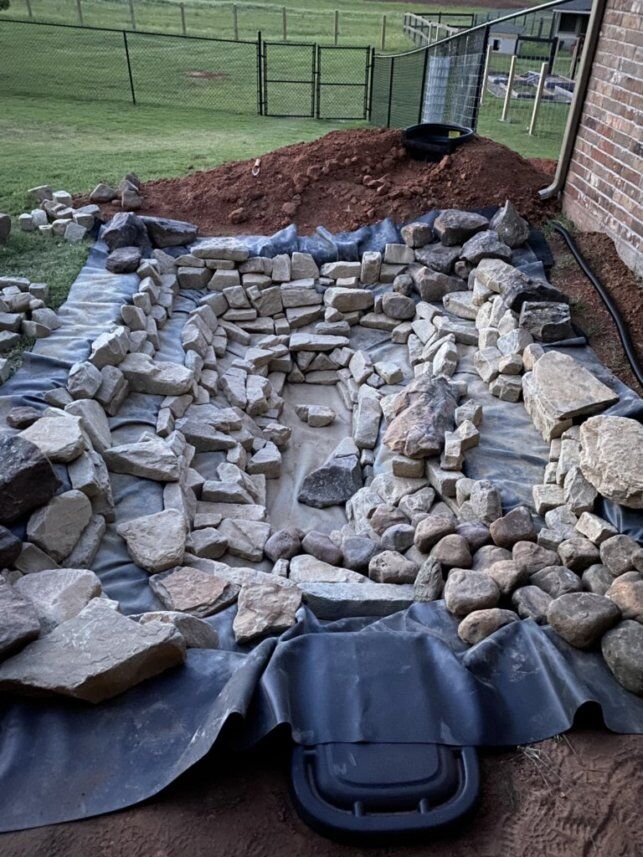
A storm was coming in overnight so we put some smaller rocks along the edge to keep the water out. However, we forgot 1 major factor. We didn’t divert the water coming out of that downspout on the right-hand side of the pond. EPIC FAIL.

Starting Over
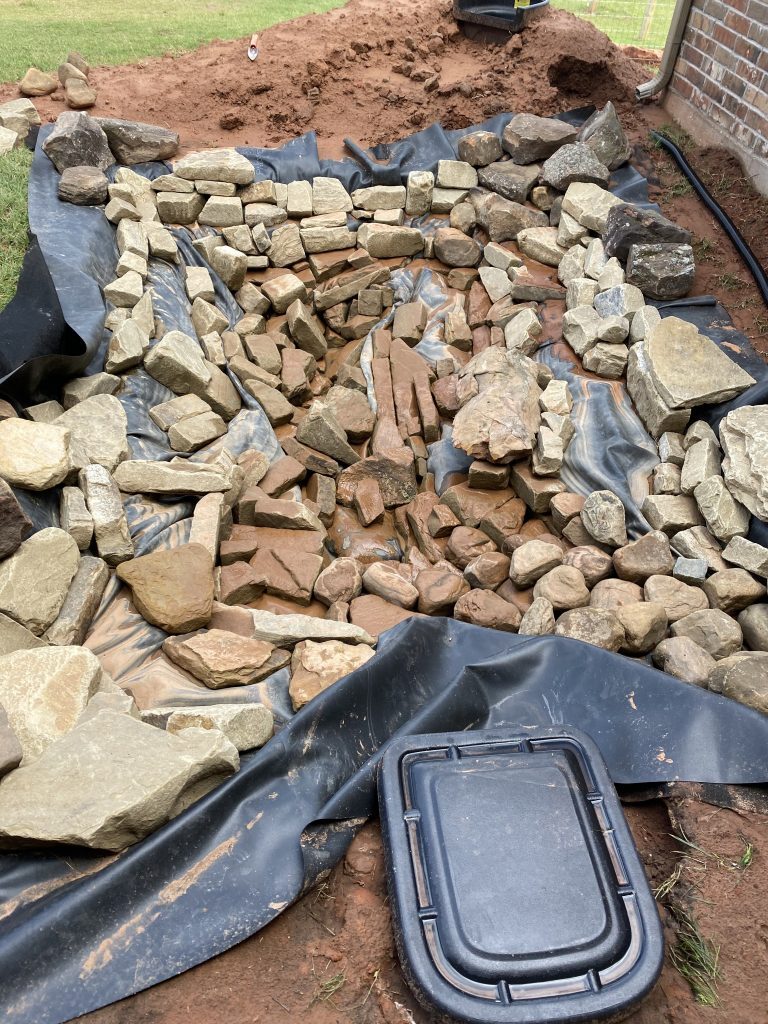
We had several days of heavy rain with this storm so it was a week before we could start removing the rock. We wouldn’t know the extent of the damage until we could remove the liner but we also didn’t want to cause more damage by stepping down into the pond. After a lot of time, tears, and thoughts of filling in the pond and moving on, we finally decided to start over. We removed the dirt that had been swept in from the rain and reshaped the shelves. I actually think it ended up better the second time, or maybe I’m just trying to look for the silver lining. We put the rocks back in to form the sides, made a bigger cave to provide shelter from the sun and predators, and also raised our skimmer because there was some settling with the rain.
The Waterfall
I was most intimidated by the waterfall because, aside from the fish, it is the focal point of the koi pond. Some tips to keep in mind when constructing your waterfall.
- Make sure your waterfall is level
- Keep the sides of the stream high enough to keep water from flowing over the sides.
- Position the waterfall stream directly in line with the skimmer so that the water is pushed across your pond.
- Overlap your waterfall liner over the pond liner so that there is no leaking.
- Use plenty of silicone sealant to create a solid watertight seal over the face of your waterfall (we had a thin gap that was causing a leak and had to redo ours)
The instructions that come with the kit are very easy to follow and they walk you step by step how to assemble the waterfall. We got the general shape of the stream set and tamped down with a gradual flow toward the pond. Next we attached the liner to the face of the waterfall. We apparently didn’t get a solid line of silicone because we later found that was a source of leaking and had to remove the screws and silicone and start over. It was a 30 minute fix but it took us a week to figure out where the leak was coming from. We had to add some dirt under the liner in a few places to raise the side where water could have flowed over.
Take your time with the waterfall and stream and you will be happy in the end. The last step was adding foam to hold rocks in place and to seal up any holes. We ordered a rock tray to our waterfall and put some plants in to make it look more natural.
More Rock
We had the basic structure built, foundation rocks in place, and the liner secured around the edges. Next we added river rock. We opted for 1″-3″ rocks to fill in the shelves and bottom of our pond. These were also used around the perimeter to create a boundary. We also filled in gaps with pea gravel. This was probably my favorite part of the building process but also the most time consuming. You will need to fill in ALL of the holes between your larger rocks. This is important for several reasons.
- Adds stability
- Reduces places for decaying matter to collect
- Eliminates places for fish to hide (or get stuck)
- Protects the liner from UV exposure
- Makes your pond look finished
Look at your pond from different angles. I still find places that need rocks so I just take them from the perimeter and add them where they are needed. The pea gravel really softens the overall look and helps make your pond look natural.
If you live in Oklahoma I highly recommend Oklahoma Stone for any of your rock projects. Their rock is half the price of any of the places that I called and they are always very friendly and helpful. Plus they know us by name now.
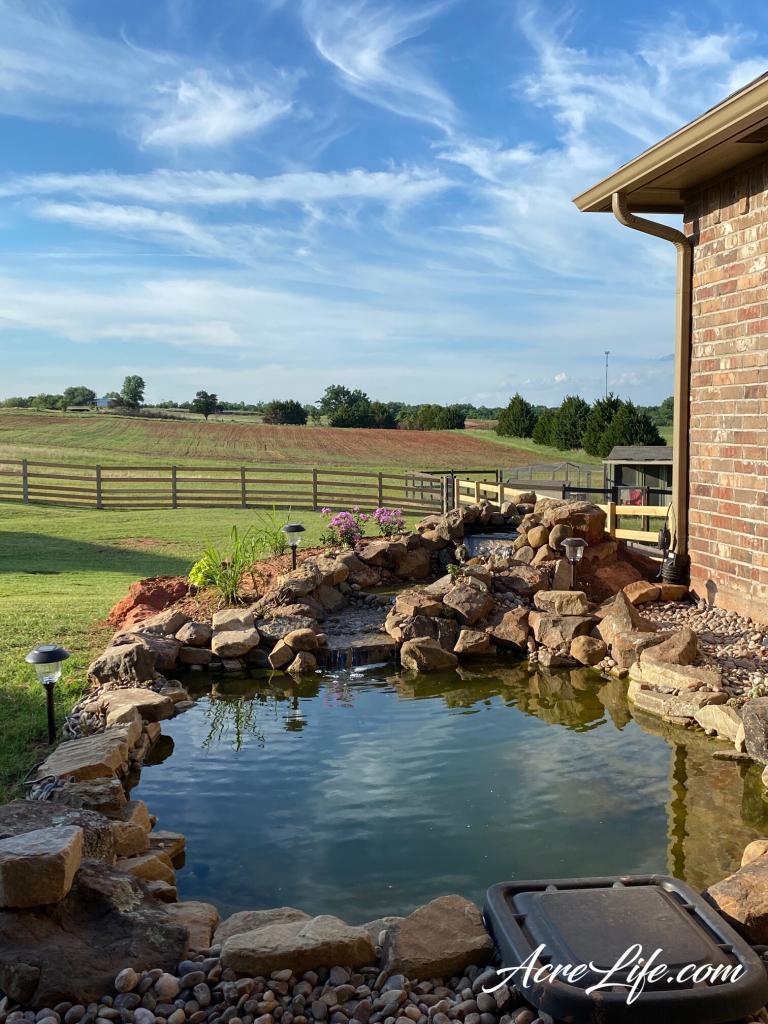
Finishing Touches
My best advice on how to finish your koi pond is to sit and look at it for a week. I notice areas that need rock or rocks that need to be turned almost every time I look at it. I know the “newness” will wear off and I’ll stop obsessing over every inch of it, but for now, I’m still perfecting.
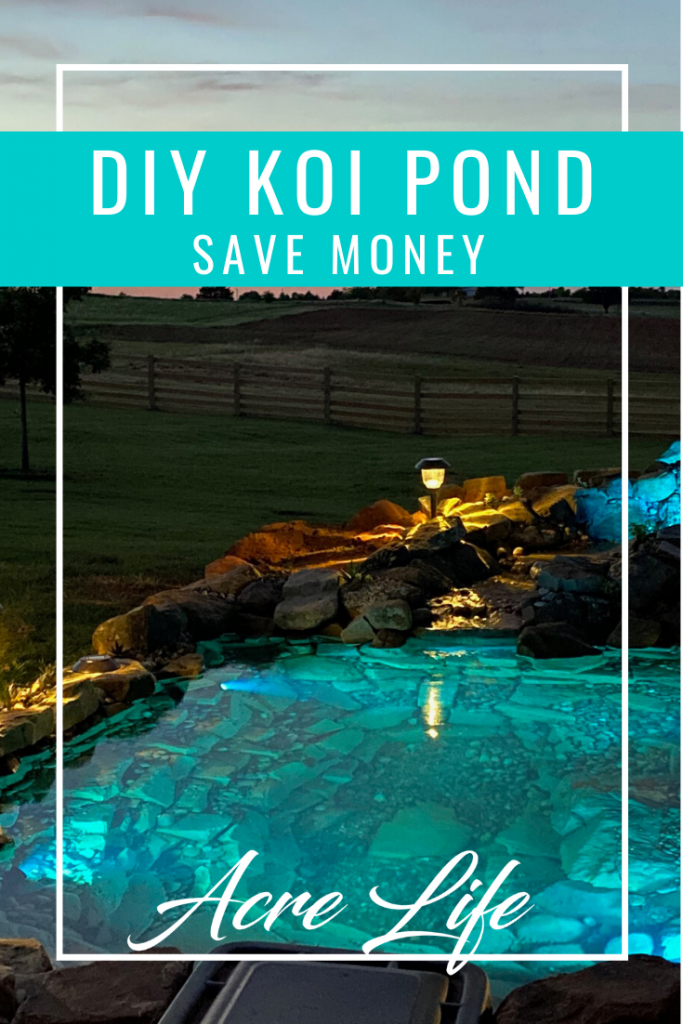
Lighting
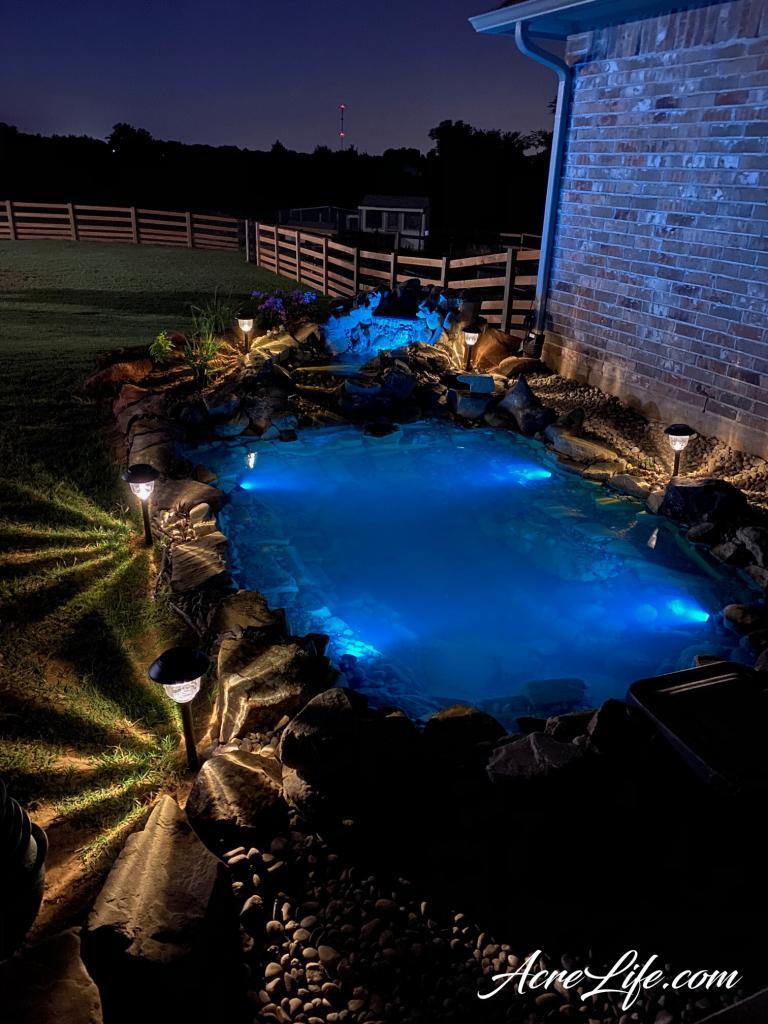
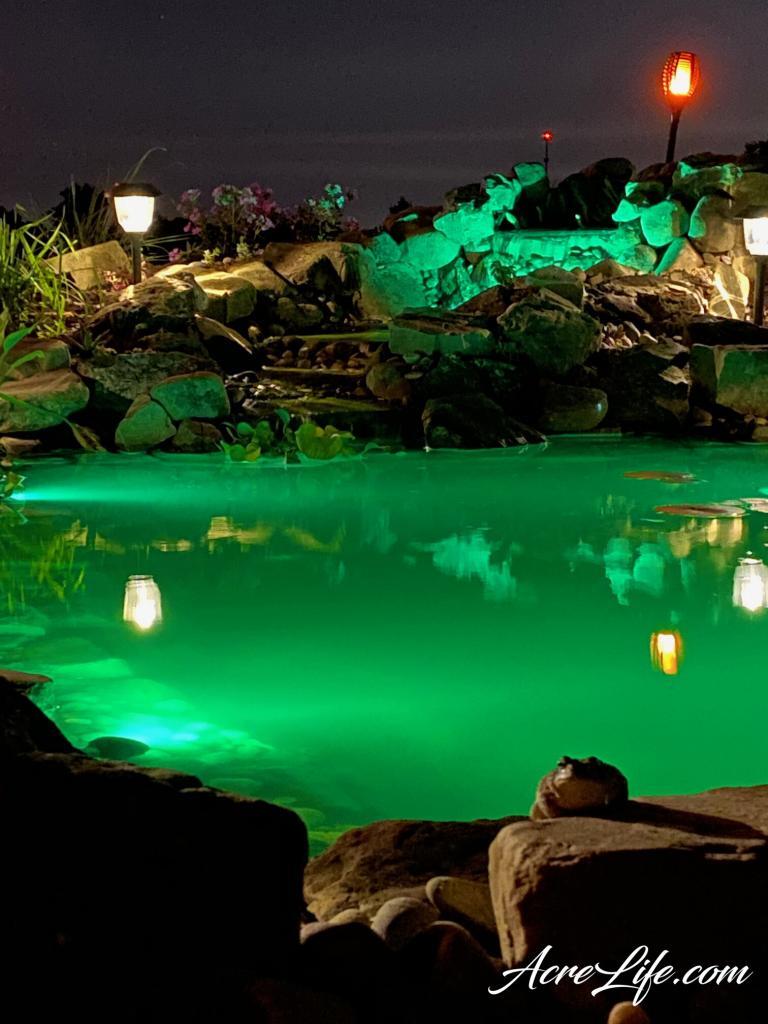
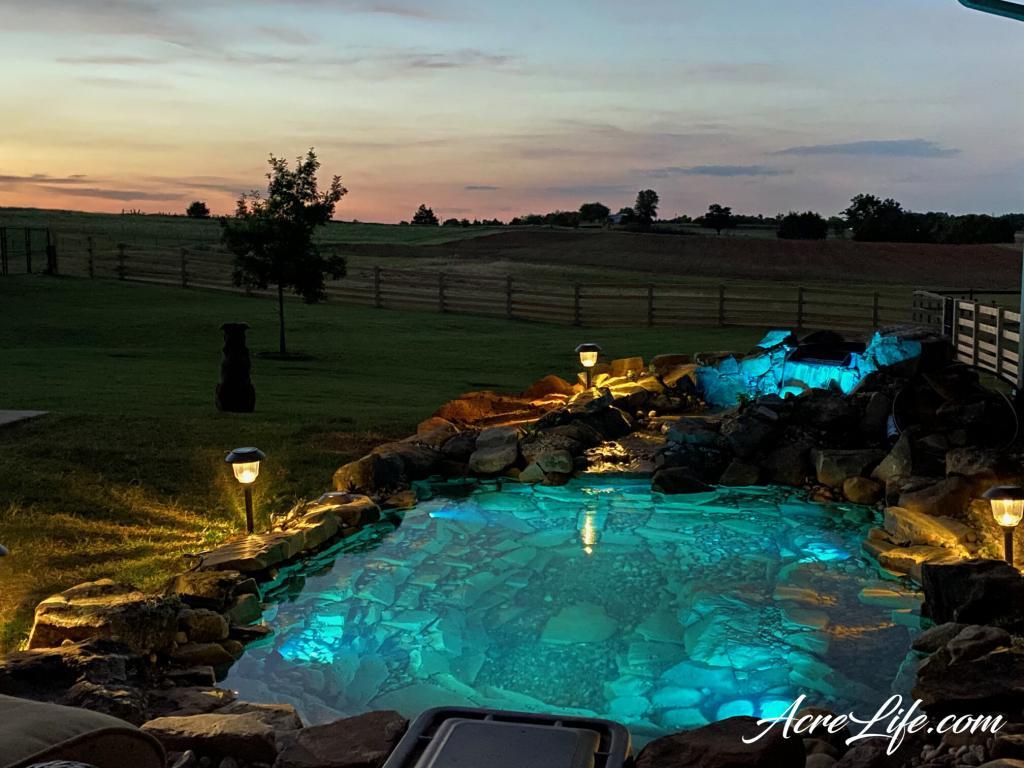
Adding lights to your pond makes it a beautiful focal point at night. We added 5 PondMAX color-changing LED lights that we purchased from our local pond store. They are very easy to install and add to the overall look of the pond.
We added some solar landscape lights around the edge of the pond and the coolest solar torches around the edge of the rock and berm. The lights are a fun way to add character at night since you can’t see the flowers and landscaping in the dark.
Plants
Next, we added some plants for shade and to help with the water quality. I didn’t like the look of the planters sitting on the top shelf so I bought these fabric planters. They are flexible and easy to disguise with rocks. I bought the larger size to give the plants room to grow. One note I would like to share about the plants we added. They came with tadpole eggs!!! I noticed a rope looking thing the day after I added the plants but didn’t think anything about it. A week later there were about a thousand tadpoles in the pond. After further research, I realized that they are toad tadpoles. We are currently in the process of catching and removing them.
Finally, we have added some landscaping to the berm around the waterfall and some potted plants in the rocks around the perimeter. Make sure that you don’t add anything that is going to lose leaves and flowers that could fall in the pond.
Fish
About 2 weeks after our pond was complete we finally added fish. It was recommended that we add 4 fish to begin with just to make sure that the water quality was good and that there were no major problems. There was also uncertainty about how our dog was going to handle sharing his backyard with fish. We certainly didn’t want to spend $100 on fish for him to think were a fun new toy. After a few days without incident, we added 4 more koi.
The next day I noticed that 1 was missing. I looked in the skimmer, along the edges (in case it died) but couldn’t find it. About a week later I was feeling around the edges of the pump to make sure that there wasn’t a build-up of algae and guess who I found! I guess it was so small it swam under the netting in the skimmer and got stuck. It is now reunited with the others and they seem to be happy.
I will add pictures of the fish soon. They are so fast and still hiding some so I haven’t gotten any clear pictures. We are also dealing with cloudy water because of the heat and sun.
Was It Worth It?
I’m not going to lie, there were times when we thought we should have left building the koi pond to the experts. However, now that it is finished I’m so glad we did it ourselves. The main reason is that we saved $4000! Yes you read that right, we saved $4000. When we visited our local pond store to find out about having a pond installed by them it was going to be $6500.

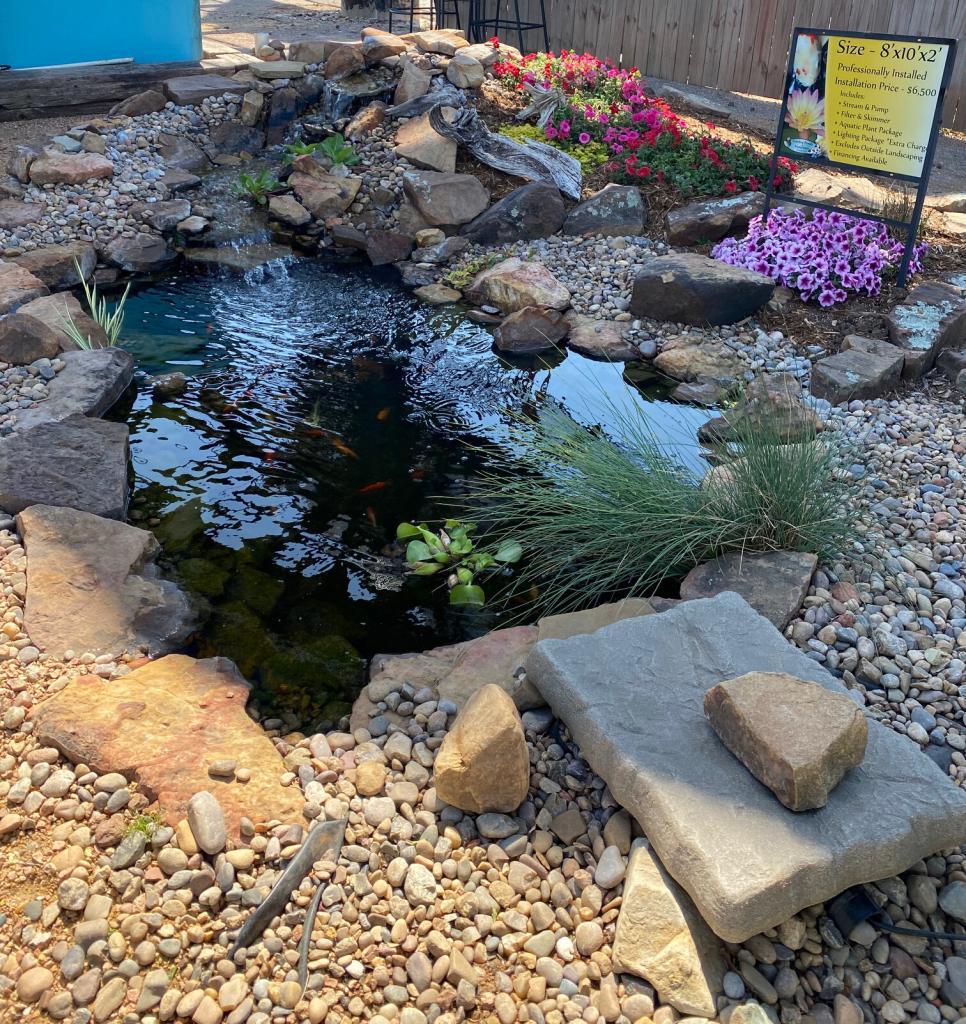
Even after having to basically build the koi pond twice it was still worth the savings. Do some research. Watch the videos that I have linked. I think you can do it!


Love your pond! I have an above ground swimming pool that is much larger but it doesnt look very pretty. I would like to do it over with natural rocks and plants and of course a waterfall.