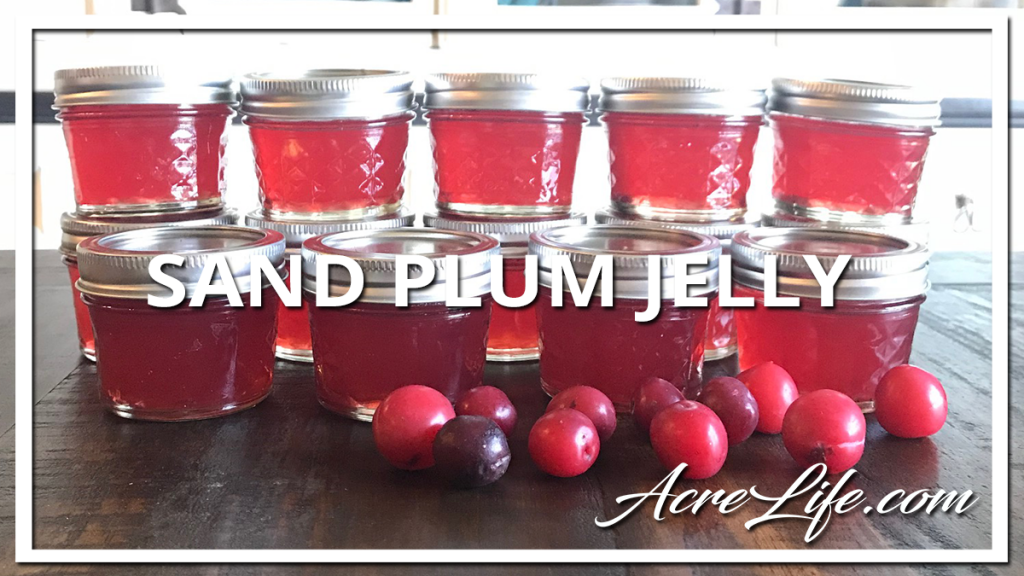
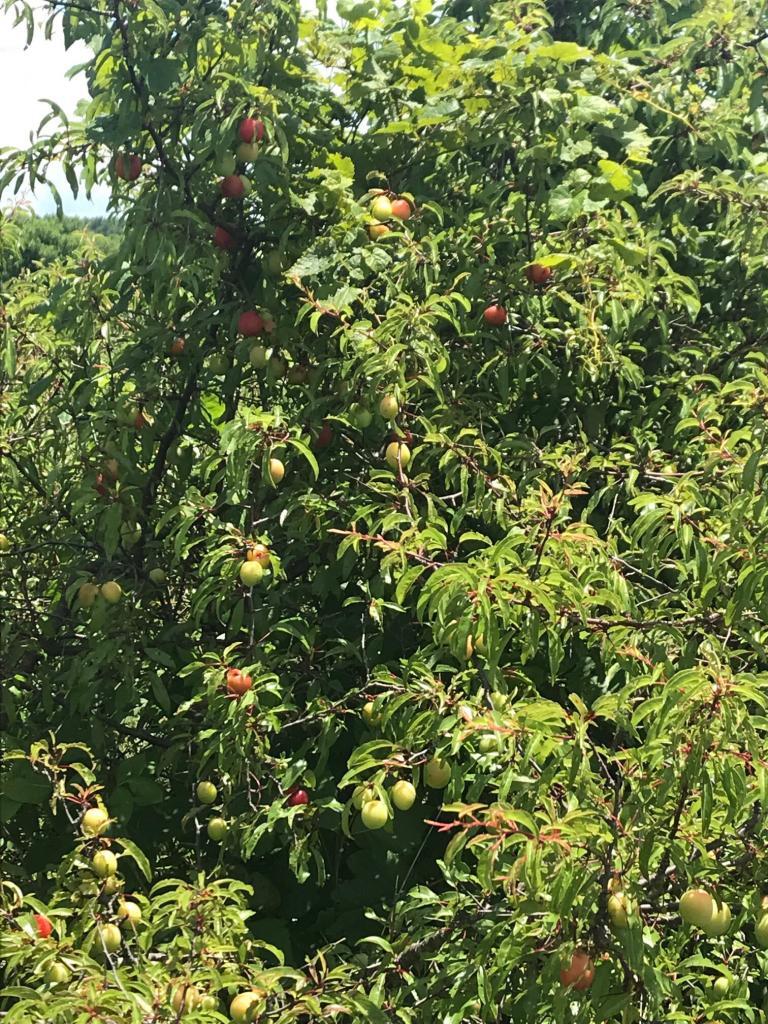
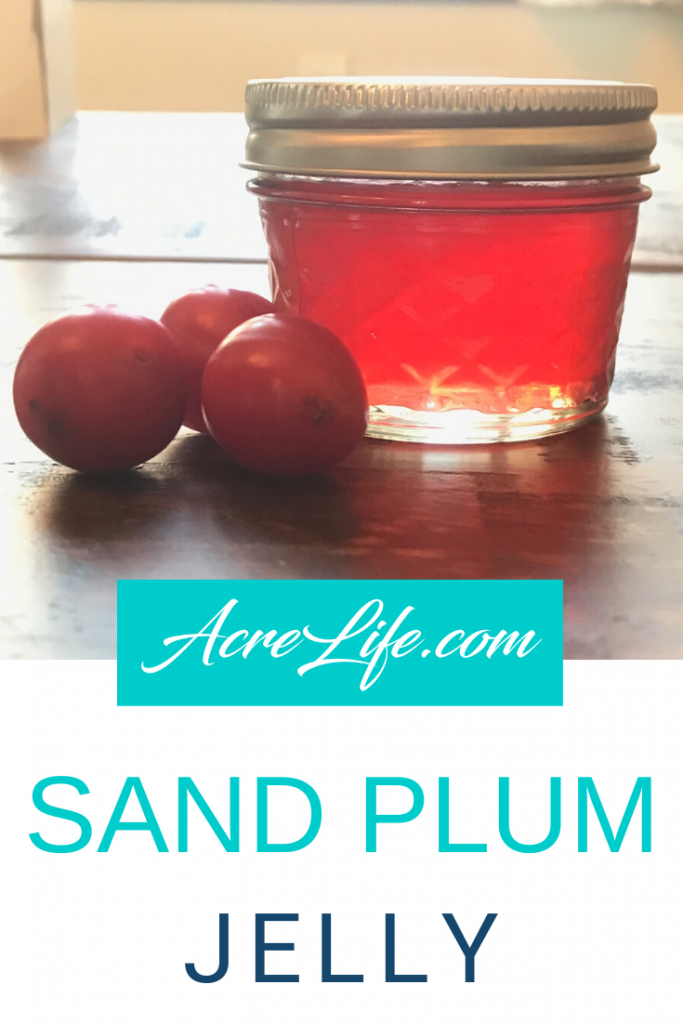
I was so excited to find a row of wild sand plum bushes on our acreage when we moved in. Sand plum bushes are also known as sandhill plum, sand hill plum, Chickasaw plum, or mountain cherry bushes. After I learned what they were I noticed that they are growing EVERYWHERE in rural areas of Oklahoma. I have found that many native Oklahoman’s have fond memories of sand plum jelly from their earlier years visiting grandma and grandpa’s farm. If you haven’t tried this delicious jelly, I highly recommend making a trip to some rural areas of Oklahoma and picking some sand plums (ask for permission if you enter anyone’s property).
Ingredients for Juice
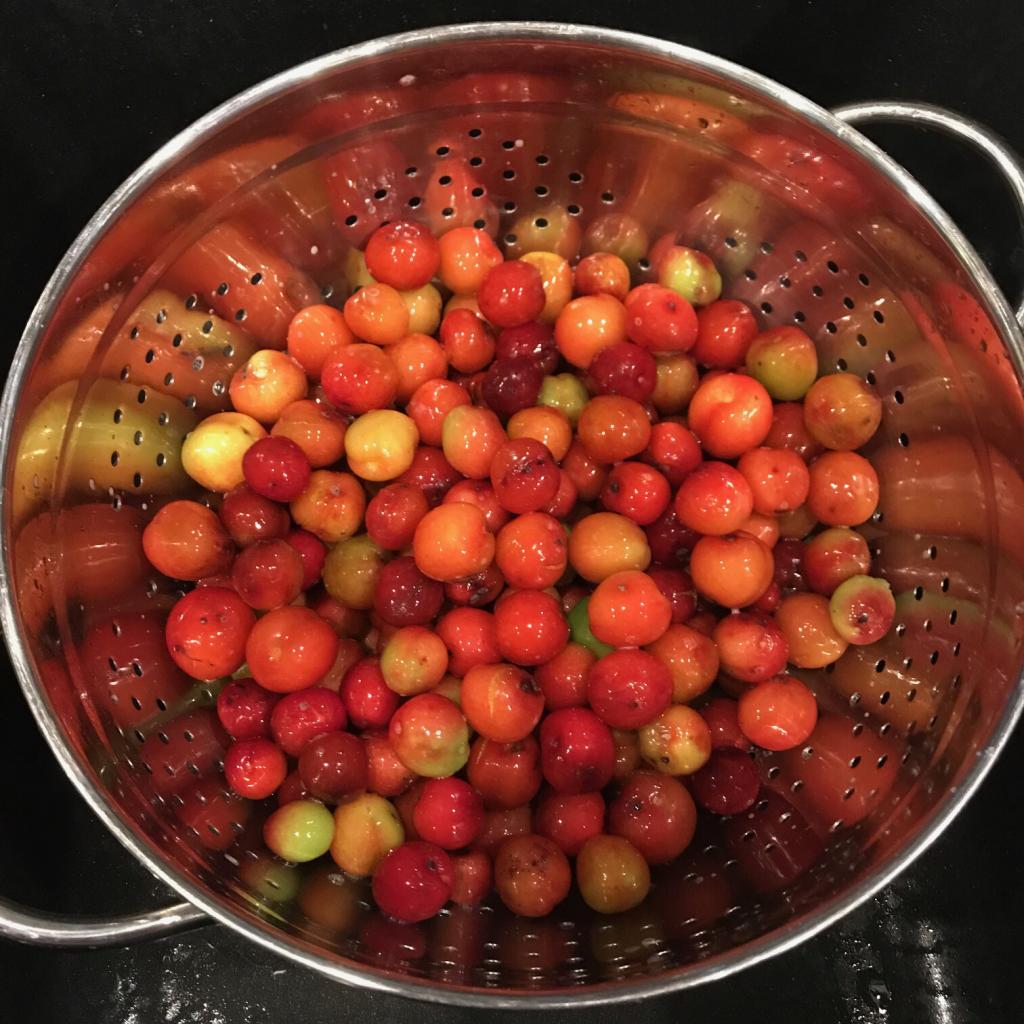
- 2 1/2 pounds of sand plums
- Water to cover sand plums
Ingredients for Jelly
- 5 1/2 cups sand plum juice
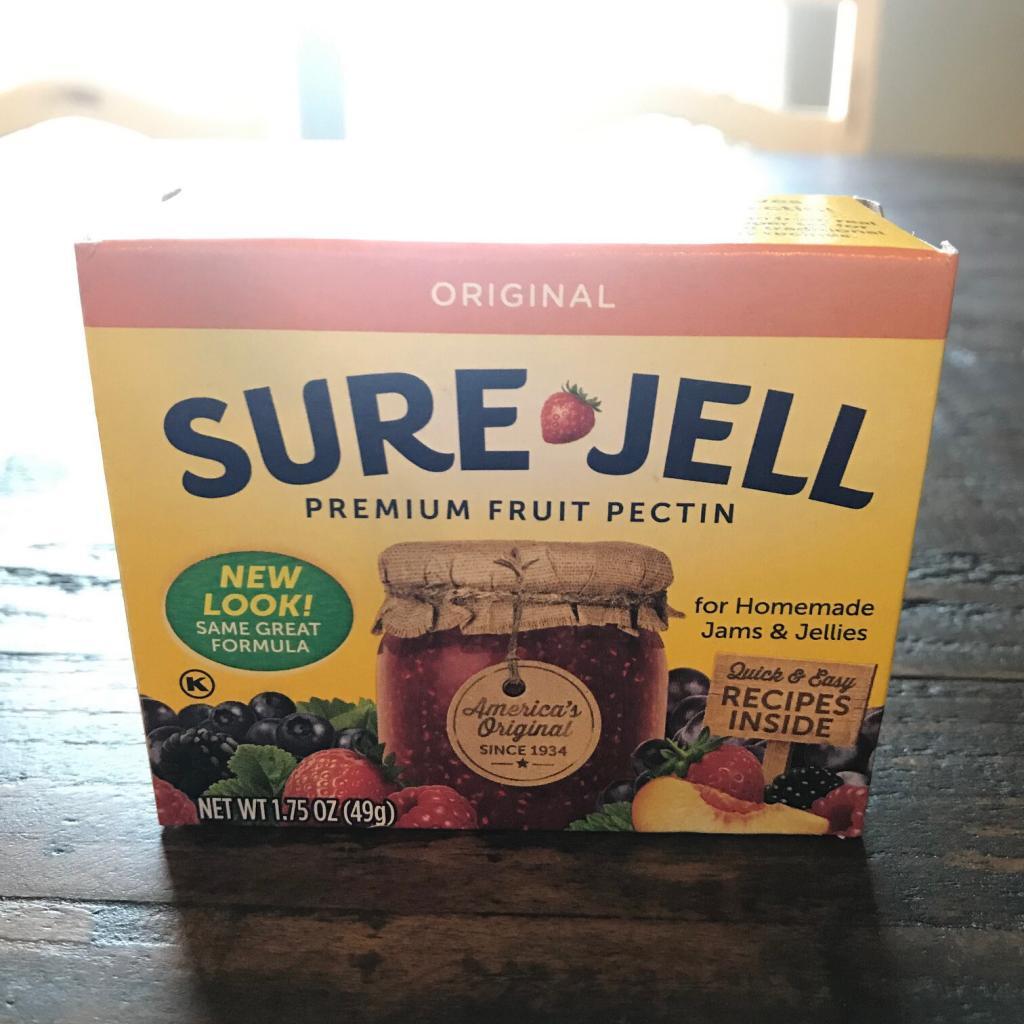
- 1 package powdered pectin
- 7 1/2 cups sugar
Other Items Needed
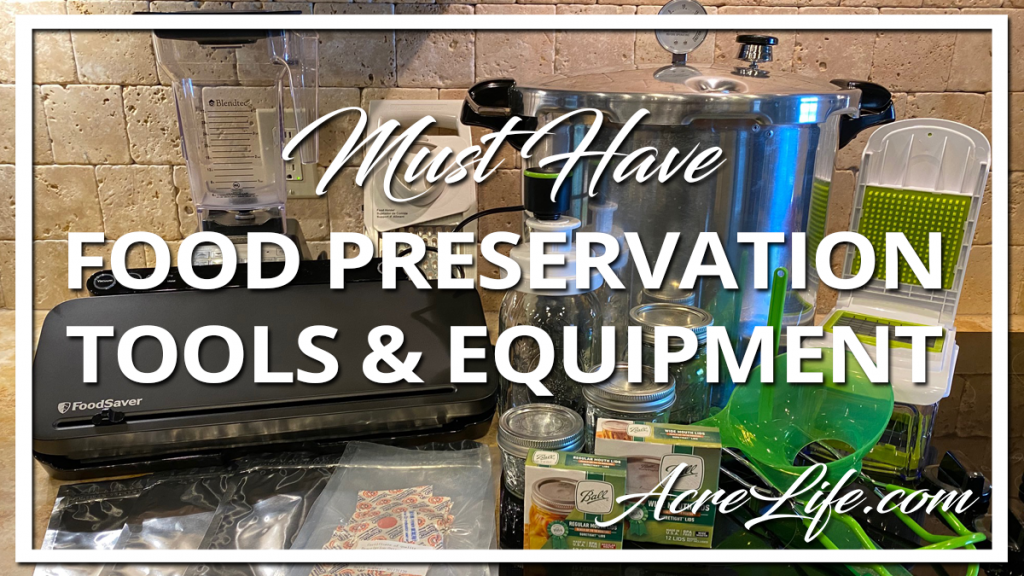
- Large Pot
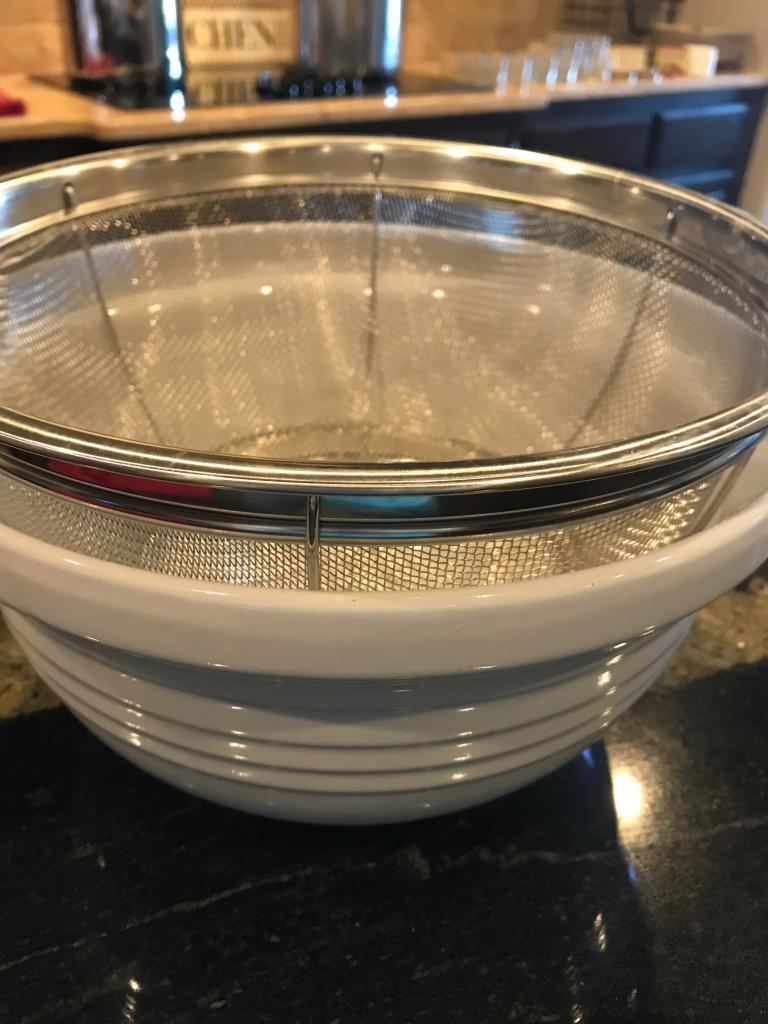
- Large Bowl
- Large Strainer
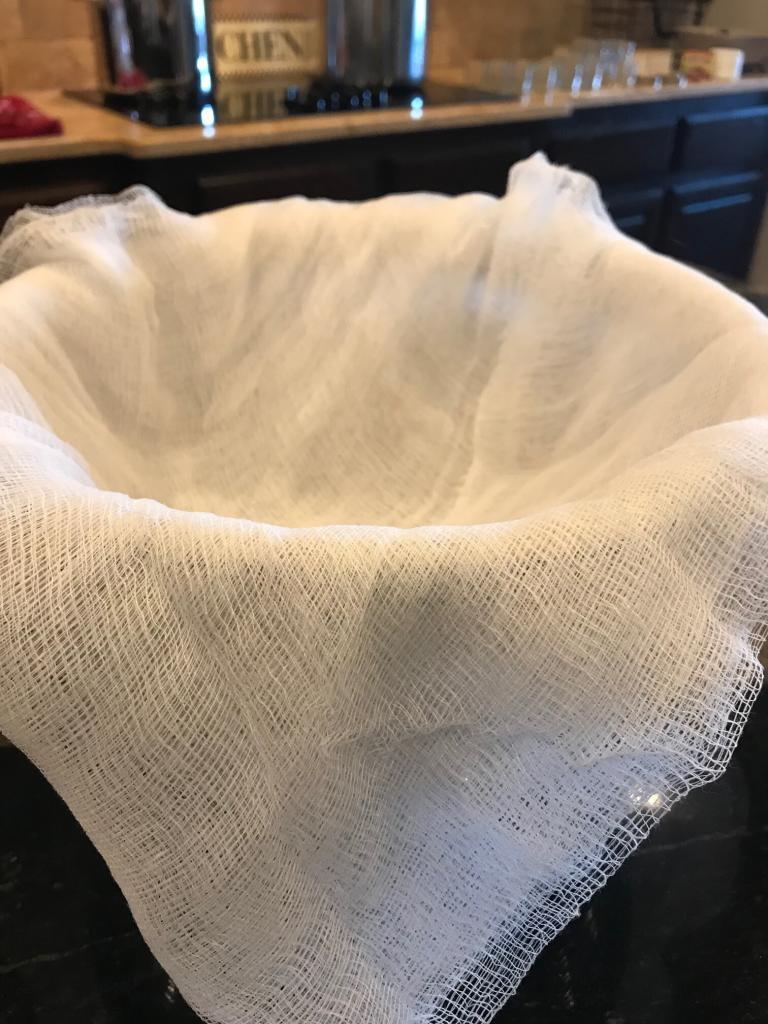
- Cheesecloth
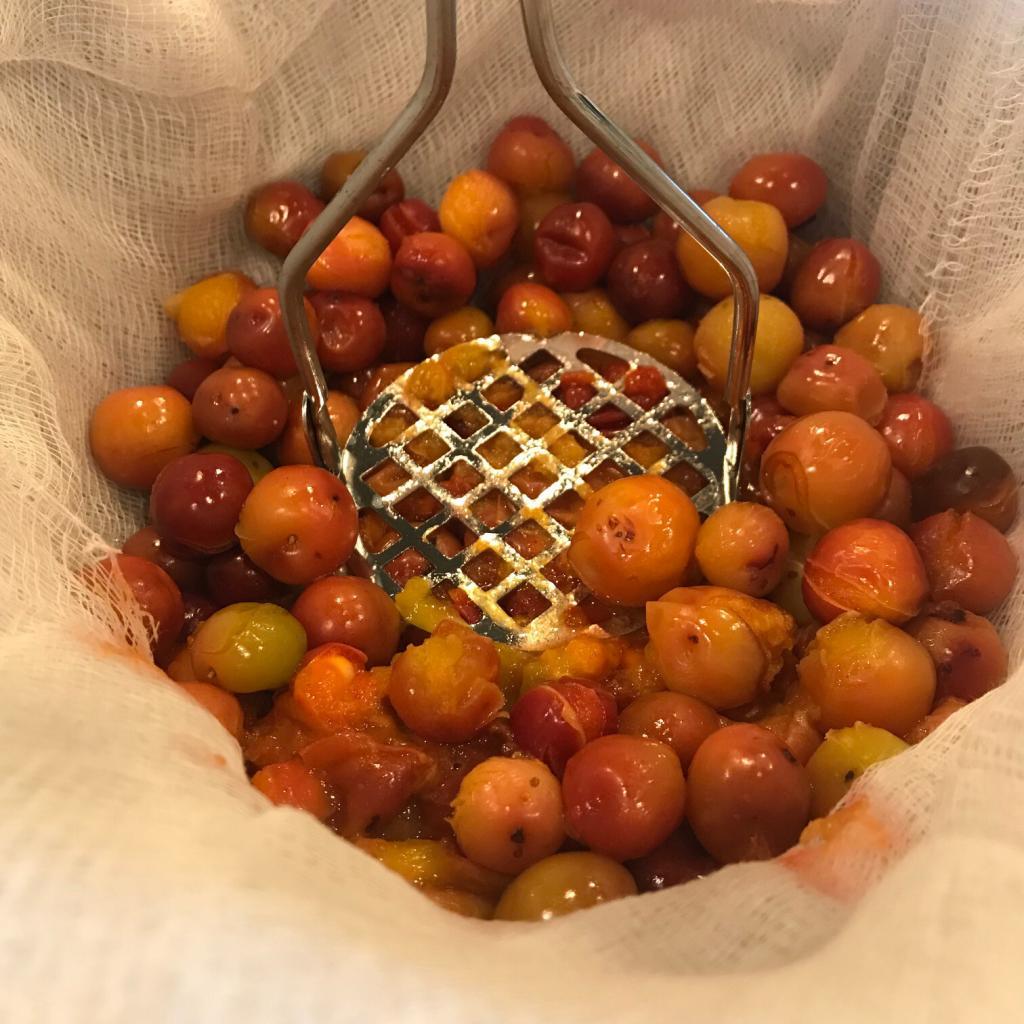
- Masher
- Pressure Cooker/Canner or Similar Sized Pot
- Canning jars (4 oz or 8 oz)
- Canning Set
Instructions
My grandmother gave me her Ball Blue Book Guide to Home Canning and Freezing so I use the Plum Jelly recipe from there.
I get different yields each year from my sand plum bushes. My largest area of bushes has only produced fruit once in 7 years while other bushes produce fruit every year. Therefore, some years I have to pick my sand plums over a period of a week. I store the ripe sand plums in the refrigerator and leave the unripe ones on the counter to ripen.
Making the Juice
First, remove the stems, wash your sand plums, and put them into a large pot. Cover completely with water. Note – some people prefer to pit their sand plums first but I don’t take the time to do it. Because the sand plums are so small, it would take more time than I’m willing to spend.
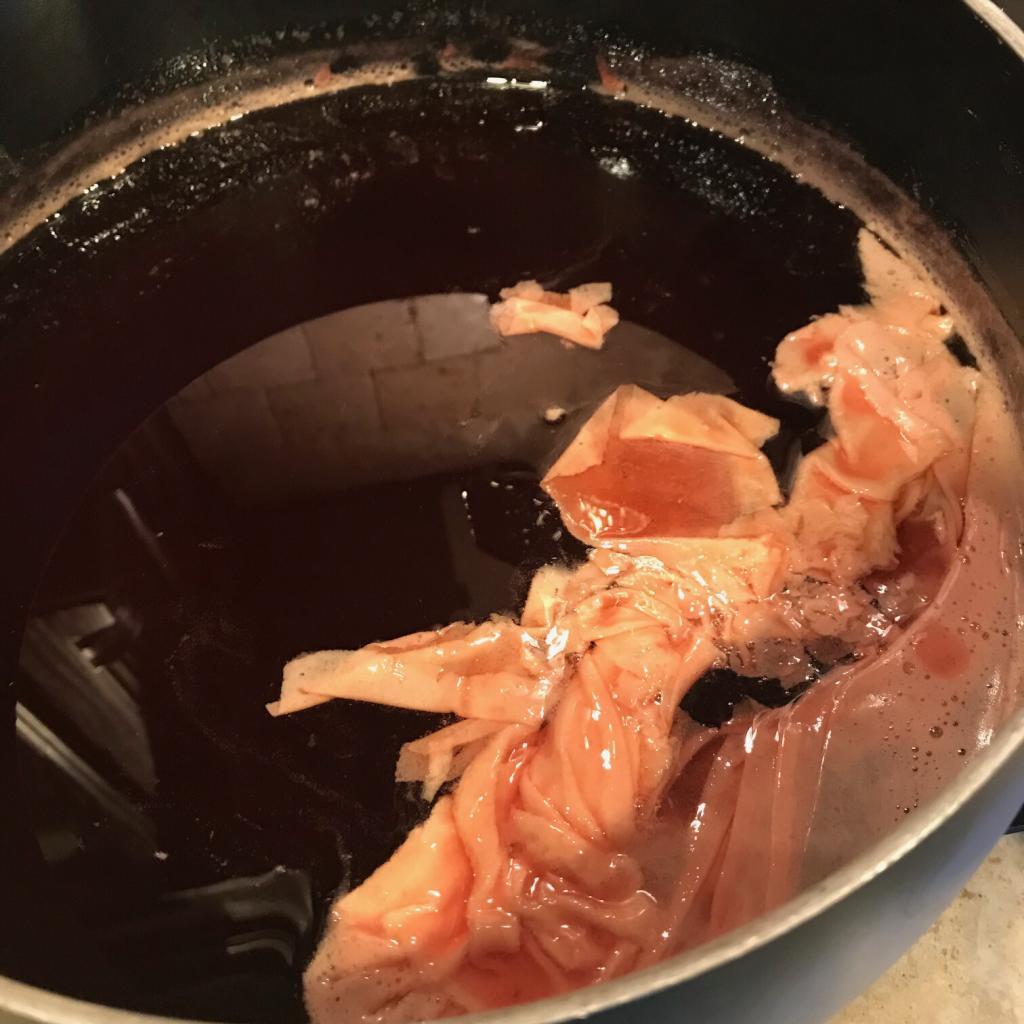
Next, simmer over medium heat until the sand plums begin to break open and get soft. While they are simmering, prepare your bowl and strainer. Place the strainer inside of your bowl and cover it with the cheesecloth. Once your sand plums are soft remove the pot from the heat.
Spoon the sand plums into the cheesecloth and mash them with the masher. You may also have a food mill or sieve strainer. I have never had much luck with my food mill so I just use a potato masher.
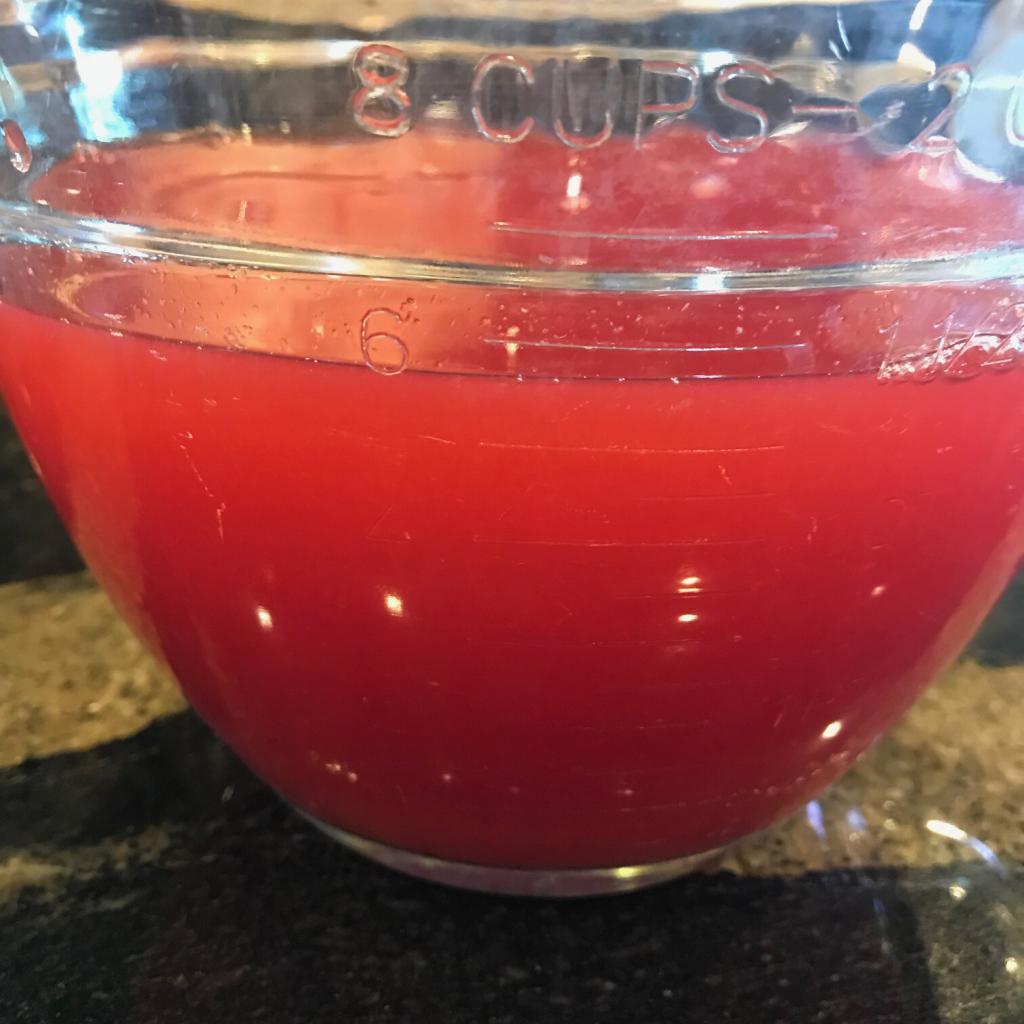
Allow enough time for all of the juice to drip down to the bowl. I propped the strainer up out of the bowl once it started to fill. Finally, pour the juice from the pot through the cheesecloth until you get a total of 5 1/2 to 6 cups of sand plum juice.

Making the Jelly
Before you begin, sterilize your jars according to safe canning procedures. I cover mine with water in my pressure cooker at this point and turn on medium-high heat. Make sure that they are in boiling water for 10 minutes and then turn off the heat, but leave them in the water until you are ready to fill them.
Never fill a cool jar with hot liquid to avoid breakage.
Note – I have a Presto 23-Quart Pressure Canner and Cooker. However, I don’t use it as a pressure canner for jelly. I use it because of it’s size. So if you don’t have a pressure canner but you have a large pot, that will work. Just make sure that you have a canning rack that fits in the bottom of your pot.
In a large pot combine your sand plum juice with 1 box of pectin. Bring to a rolling boil. Add sugar. Return to a rolling boil. Boil for 1 minute while stirring constantly. Remove from heat and skim the foam from the top.
Remove your jars one at a time from the hot water with tongs. I always place mine on a towel on the counter so that they don’t slide. Place a funnel over the first jar and spoon your hot mixture into the jar leaving a 1/4 inch space at the top. Wipe the top of the jar clean and place a lid onto it. Continue to fill each jar and add a lid as you go.
Processing the Jelly
Hand tighten all of the lid rings and place the jars back into the pressure cooker. Make sure that there are two inches of water covering the top of the jars. Process for 5 minutes in boiling water. Remove jars with tongs and place them onto a dry towel on the counter for 24 hours. Your jars should be away from any drafts and in an area where they will not be touched for 24 hours.
After 24 hours, remove the bands from each jar and check the seal. The middle of your lid should be dented down. Any that didn’t properly seal are the ones you should refrigerate and use immediately. Those are the best ones to test to make sure they taste sweet and delicious!
I’m making this right now!!! I thought it said 5 1/2 lbs of plums so I’m glad I reread before the pectin part!!! I have tons of juice. Going to make it this way first and then hope that a double batch comes out fine too. I’m not super familiar with jelly making and don’t know all the ‘rules’. Thank you!!’ I have wild plums from northern ND.
My dad made wild plum jelly for years up for till the age of 95. I just got my hands on a bunch of wild plums today I’m gonna try to make my own batch I’m hoping to take some of the seeds to make me some plum trees/bushes, wish this Okie girl luck.
Making jelly for the first time after my hubby brought 18 lbs 😳. If I don’t have time to do it all in one day, can I make the juice and store in the fridge for a few days?
Amanda, I am so sorry I missed this. Yes you can and some people even recommend storing the juice in the fridge overnight. I hope your jelly came out great!
I live n Oklahoma!! An I love ❤️ love Sand Plum Jelly!! Yet, until this year:). I’ve never had an trees to pick. I feel so lucky:). Yet I’ve never jellied it. Thx so much for this recipe. As I had no idea how to even do it. Along as weni broke one open that it was pitted:/. But ifu don’t know, then you don’t know:). Thank you 😊
Yes I was surprised that it was pitted when I first tried one. I had never heard of sand plums until we moved onto our property. I hope you found some sand plums to pick this year!